
Update 11 October 2021: This autounattend.xml script also works for Windows 11 version 21H2.
There are a lot of ways you can automate a Windows installation. The most obvious and simple way is using an answer file. So what’s an answer file?
A Windows answer file is basically just an XML file that gives Windows instructions on how and what to install. So you don’t have to sit and click next, next, next… 😉
When installing Windows you just place the answer file at the root of the installation media and name it autounattend.xml. Of course, the file has to be a valid XML answer file for it to work. You can’t just put anything in it.
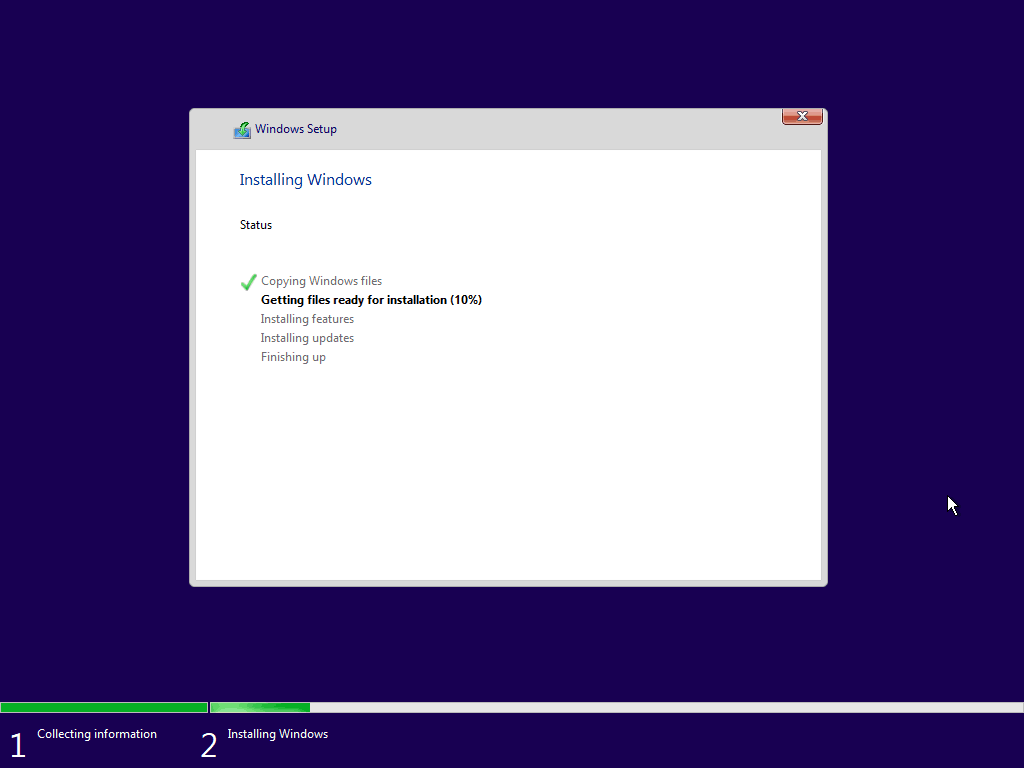
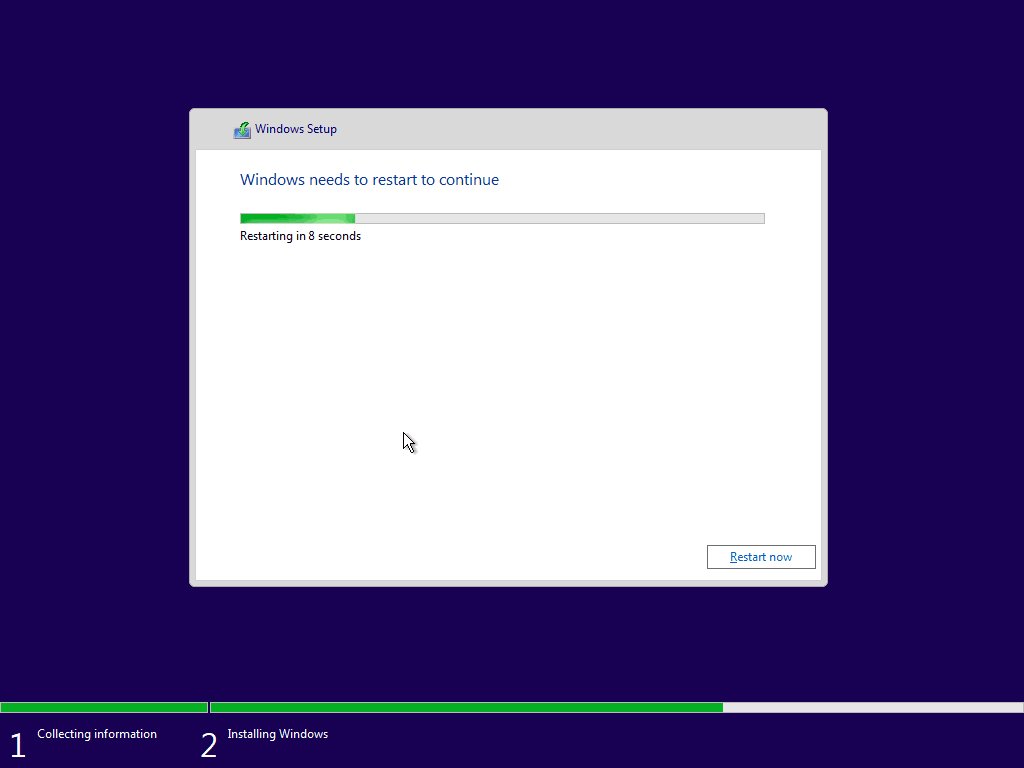
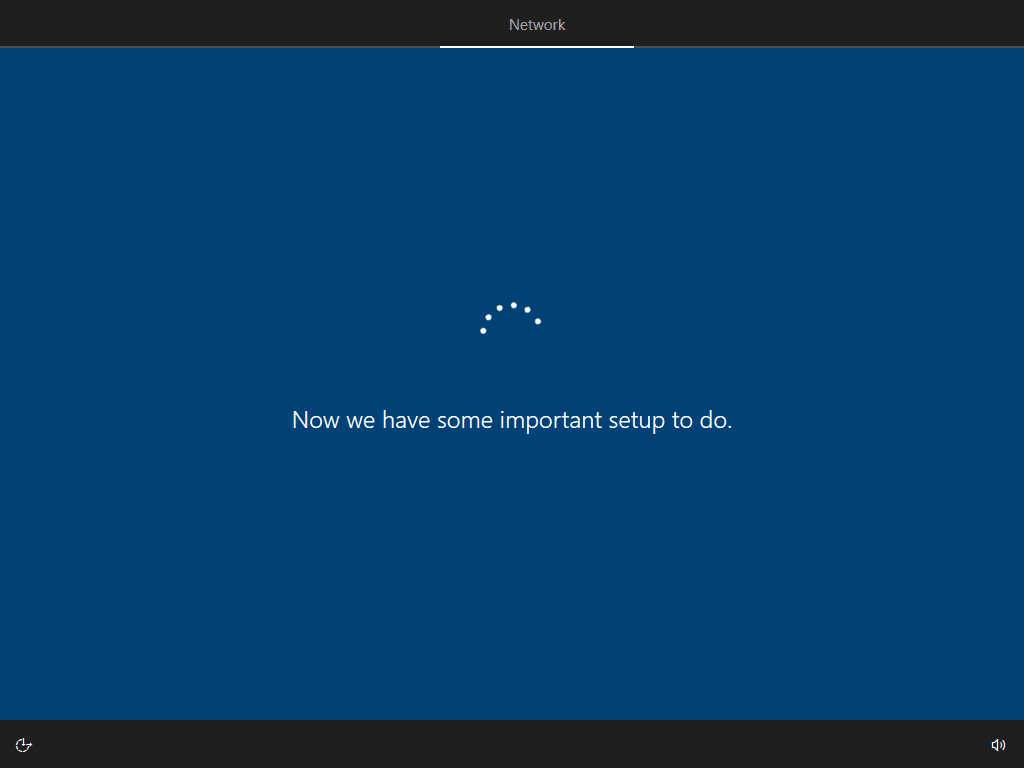
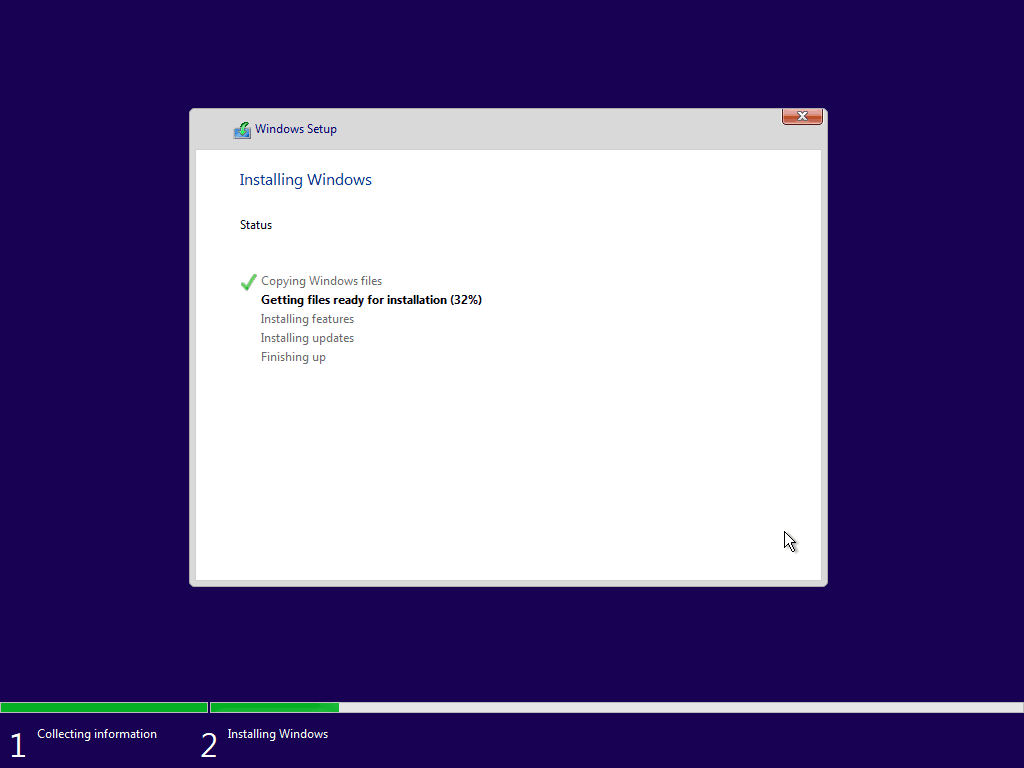
Here is an example of an automated installation of Windows 10 using an answer file.


Here is an example of the same script installing Windows 11.


Making an answer file can be a little complicated and involves using Microsoft System Image Manager. If you want you can create one from scratch, but in this post, I am just going to share my go-to script.
The following code is a simple file that will:
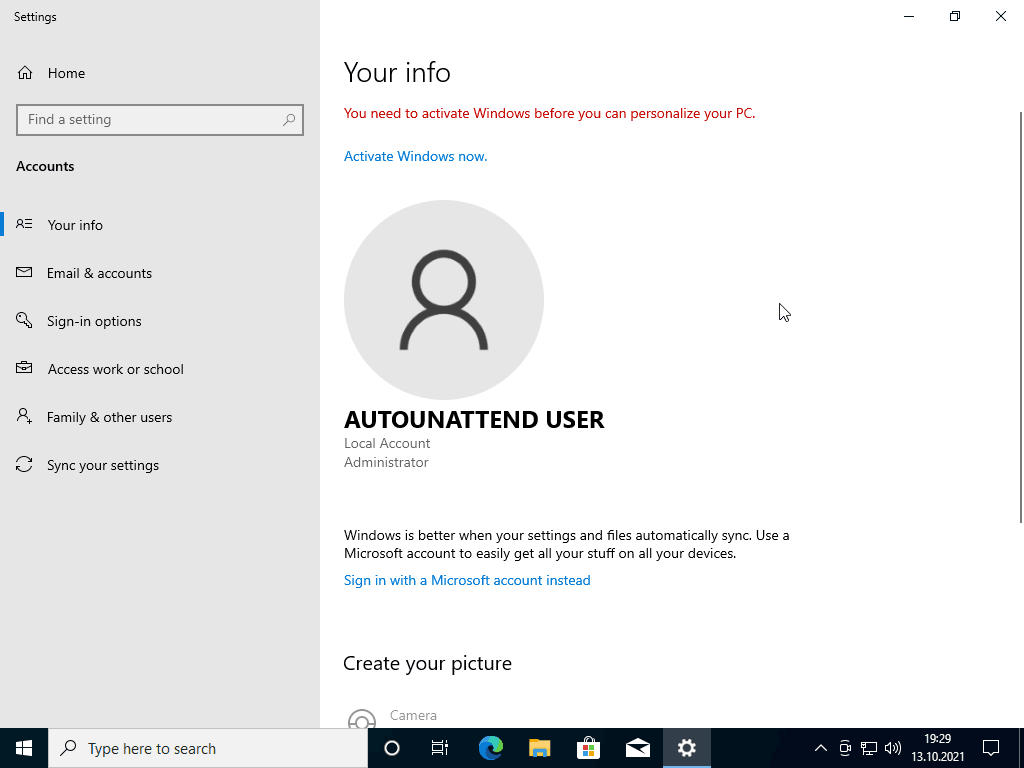
- Make a local Administrator called “User” without any password.
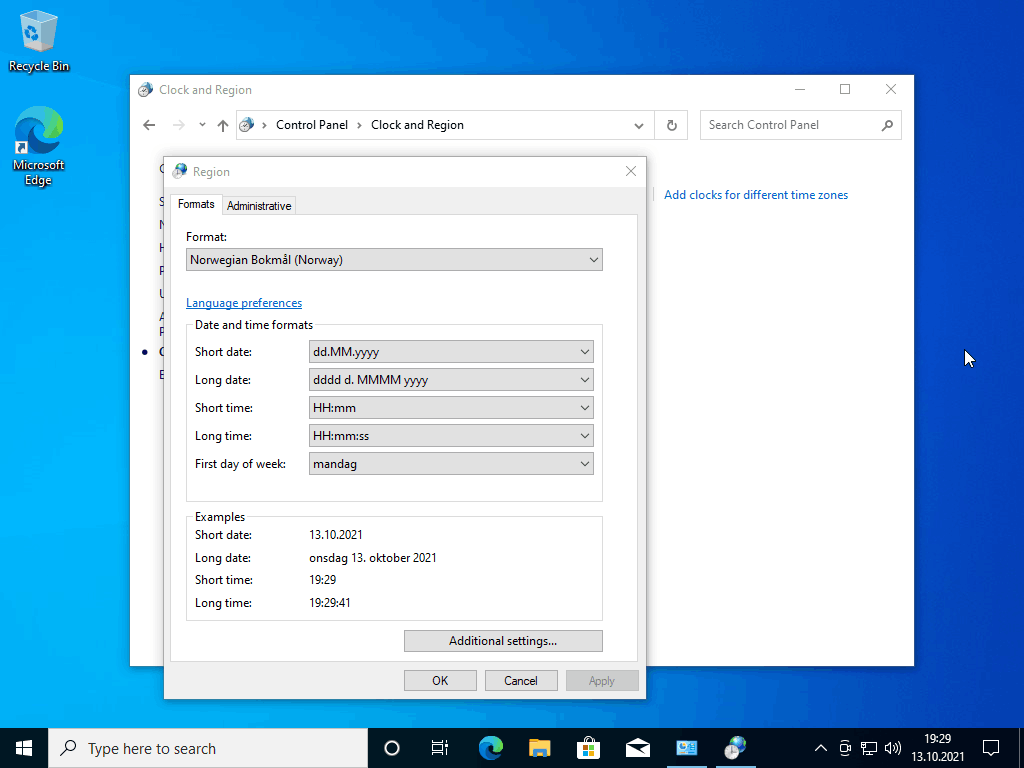
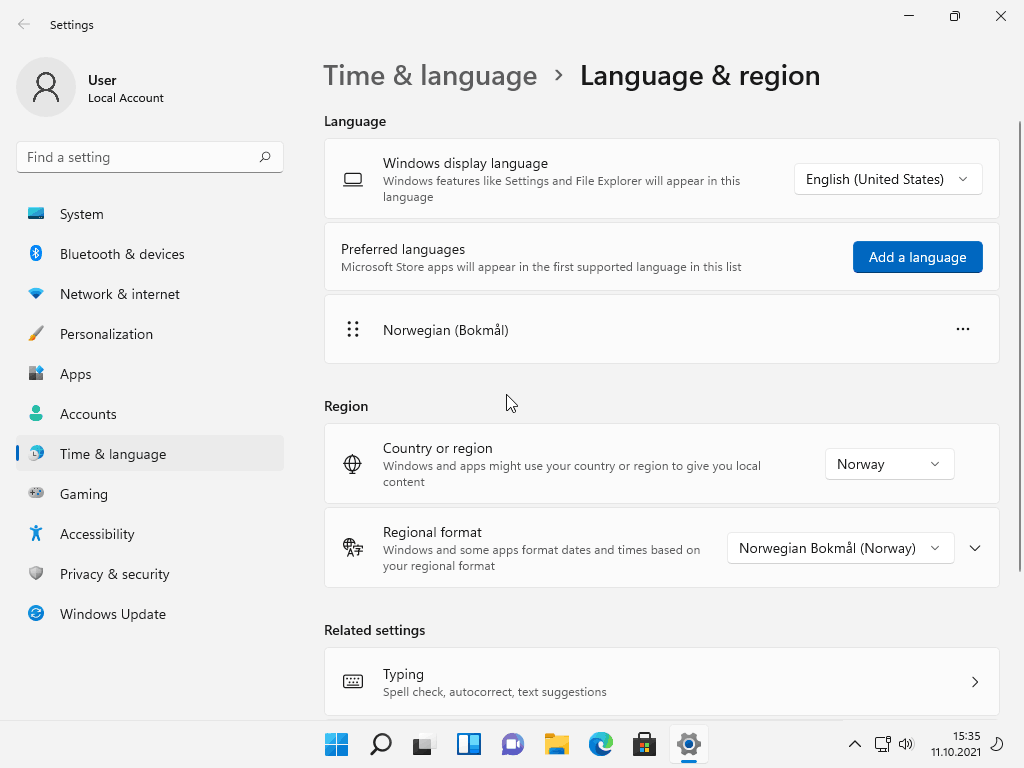
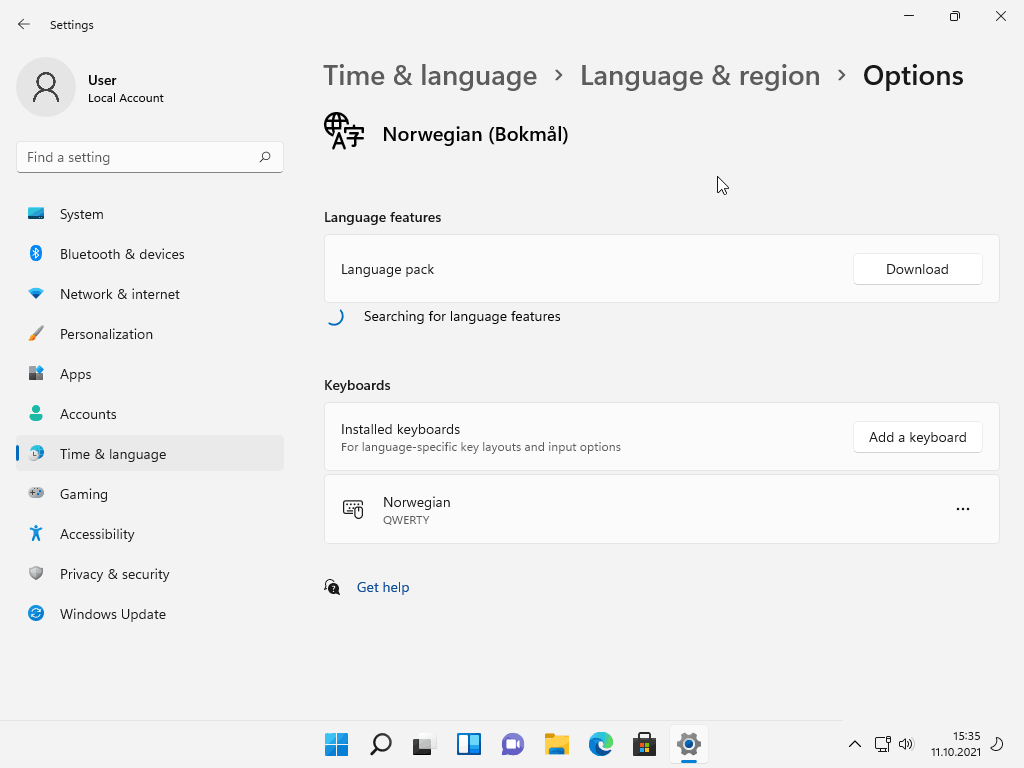
- Set the keyboard and regional settings to Norwegian.
There is no activation, no license, no nothing. Just save the file as autounattend.xml and place it at the root of your Windows installation media.
<?xml version="1.0" encoding="utf-8"?>
<unattend xmlns="urn:schemas-microsoft-com:unattend">
<settings pass="windowsPE">
<component name="Microsoft-Windows-International-Core-WinPE" processorArchitecture="amd64" publicKeyToken="31bf3856ad364e35" language="neutral" versionScope="nonSxS" xmlns:wcm="http://schemas.microsoft.com/WMIConfig/2002/State" xmlns:xsi="http://www.w3.org/2001/XMLSchema-instance">
<SetupUILanguage>
<UILanguage>en-US</UILanguage>
</SetupUILanguage>
<InputLocale>0414:00000414</InputLocale>
<SystemLocale>nb-NO</SystemLocale>
<UILanguage>en-US</UILanguage>
<UILanguageFallback>en-US</UILanguageFallback>
<UserLocale>nb-NO</UserLocale>
</component>
<component name="Microsoft-Windows-Setup" processorArchitecture="amd64" publicKeyToken="31bf3856ad364e35" language="neutral" versionScope="nonSxS" xmlns:wcm="http://schemas.microsoft.com/WMIConfig/2002/State" xmlns:xsi="http://www.w3.org/2001/XMLSchema-instance">
<UserData>
<AcceptEula>true</AcceptEula>
<ProductKey>
<Key />
</ProductKey>
</UserData>
<ImageInstall>
<OSImage>
<InstallFrom>
<MetaData wcm:action="add">
<Key>/IMAGE/NAME</Key>
<Value>Windows 10 Pro</Value>
</MetaData>
</InstallFrom>
<WillShowUI>OnError</WillShowUI>
</OSImage>
</ImageInstall>
</component>
</settings>
<settings pass="oobeSystem">
<component name="Microsoft-Windows-International-Core" processorArchitecture="amd64" publicKeyToken="31bf3856ad364e35" language="neutral" versionScope="nonSxS" xmlns:wcm="http://schemas.microsoft.com/WMIConfig/2002/State" xmlns:xsi="http://www.w3.org/2001/XMLSchema-instance">
<InputLocale>0414:00000414</InputLocale>
<SystemLocale>nb-NO</SystemLocale>
<UILanguage>en-US</UILanguage>
<UILanguageFallback>en-US</UILanguageFallback>
<UserLocale>nb-NO</UserLocale>
</component>
<component name="Microsoft-Windows-Shell-Setup" processorArchitecture="amd64" publicKeyToken="31bf3856ad364e35" language="neutral" versionScope="nonSxS" xmlns:wcm="http://schemas.microsoft.com/WMIConfig/2002/State" xmlns:xsi="http://www.w3.org/2001/XMLSchema-instance">
<OOBE>
<HideEULAPage>true</HideEULAPage>
<HideOEMRegistrationScreen>true</HideOEMRegistrationScreen>
<HideOnlineAccountScreens>true</HideOnlineAccountScreens>
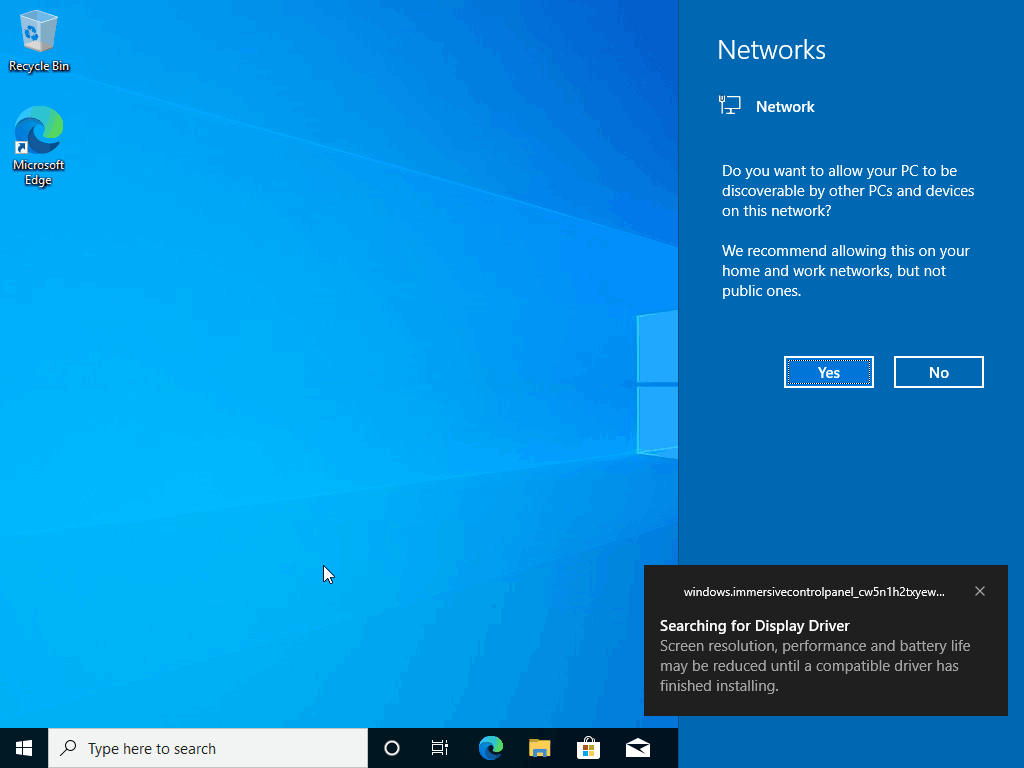
<HideWirelessSetupInOOBE>true</HideWirelessSetupInOOBE>
<ProtectYourPC>3</ProtectYourPC>
<UnattendEnableRetailDemo>false</UnattendEnableRetailDemo>
<HideLocalAccountScreen>true</HideLocalAccountScreen>
</OOBE>
<AutoLogon>
<Enabled>true</Enabled>
<Username>User</Username>
<LogonCount>3</LogonCount>
<Password>
<Value>UABhAHMAcwB3AG8AcgBkAA==</Value>
<PlainText>false</PlainText>
</Password>
</AutoLogon>
<UserAccounts>
<LocalAccounts>
<LocalAccount wcm:action="add">
<Description>Autounattend-generated user for quick setup</Description>
<DisplayName>Autounattend User</DisplayName>
<Group>Administrators</Group>
<Name>User</Name>
<Password>
<Value>UABhAHMAcwB3AG8AcgBkAA==</Value>
<PlainText>false</PlainText>
</Password>
</LocalAccount>
</LocalAccounts>
</UserAccounts>
</component>
</settings>
<settings pass="specialize">
<component name="Microsoft-Windows-Shell-Setup" processorArchitecture="amd64" publicKeyToken="31bf3856ad364e35" language="neutral" versionScope="nonSxS" xmlns:wcm="http://schemas.microsoft.com/WMIConfig/2002/State" xmlns:xsi="http://www.w3.org/2001/XMLSchema-instance">
<TimeZone>W. Europe Standard Time</TimeZone>
</component>
</settings>
<cpi:offlineImage cpi:source="wim:c:/users/user/desktop/install.wim#Windows 10 Pro" xmlns:cpi="urn:schemas-microsoft-com:cpi" />
</unattend>
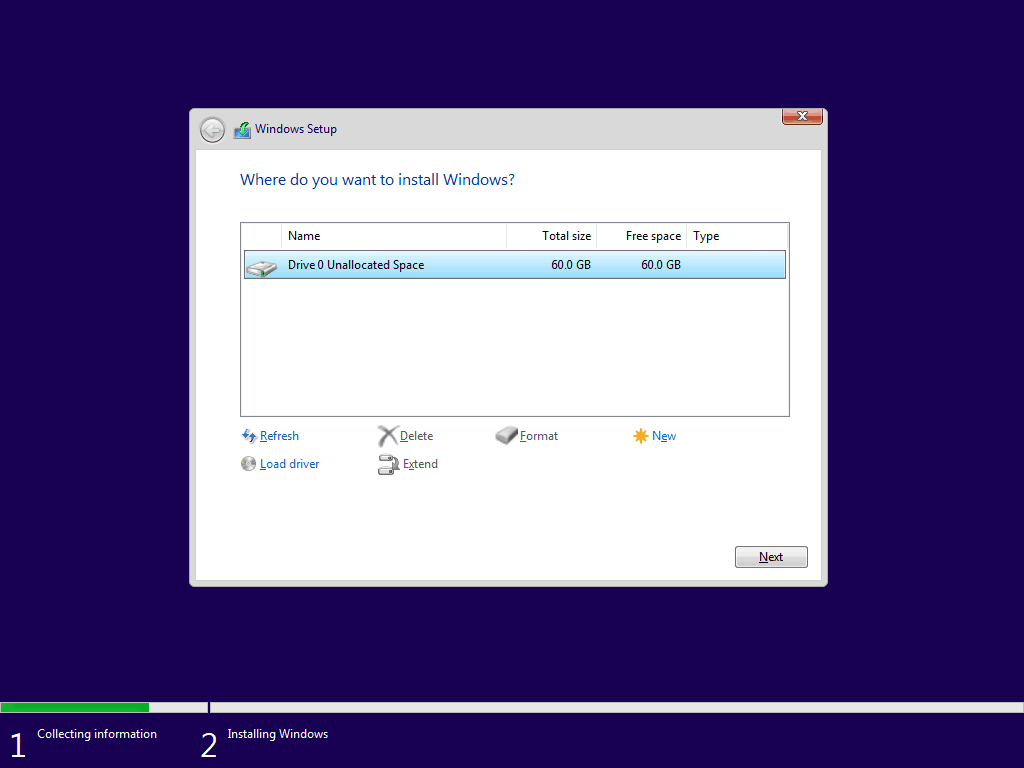
The only thing that is not automated is which disk Windows should be installed on. I intentionally skipped that step because of the risk of accidentally deleting a drive/partition.