
The problem – Cloning doens’t help
If you clone or copy a VM in VMware Workstation Pro, the source files of the VM will not be renamed accordingly. This is oly a “cosmetic” problem, but for some of us, even that is enough provocate our obsessive nature.
What does VMware have to say about this? The VMware documentation says:
Changing the name of the virtual machine does not change the name of this directory, nor does it rename the virtual machine files on the host. Workstation Pro uses the original name of the virtual machine to create the directory where virtual machine files are stored.
VMware docs
This means you can sort of rename, but your file directory on the host computer will look like a mess. I really can’t believe VMware has not fixed this…
The solution – Clone and rename
If you want to copy a VM and rename it you should preferably clone it first. If you do not want to clone it you can just copy it, but then you will have to unlink the hard drive, rename and then re-attach the hard drive again, which is why I recommend cloning instead – makes it a little easier 😉.
Clone it first
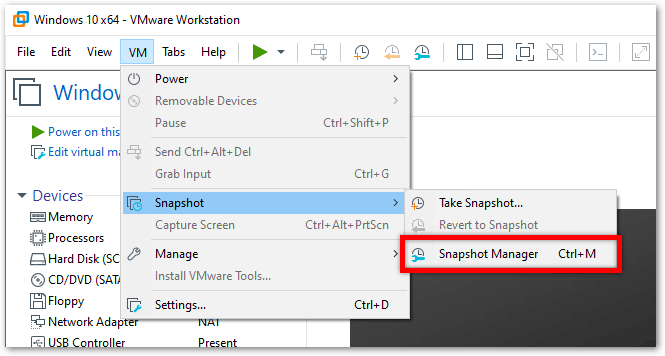
Cloning the VM is easy! Just shut down the VM, if it is running. In the main menu click on VM -> Snapshot -> Snapshot Manager.
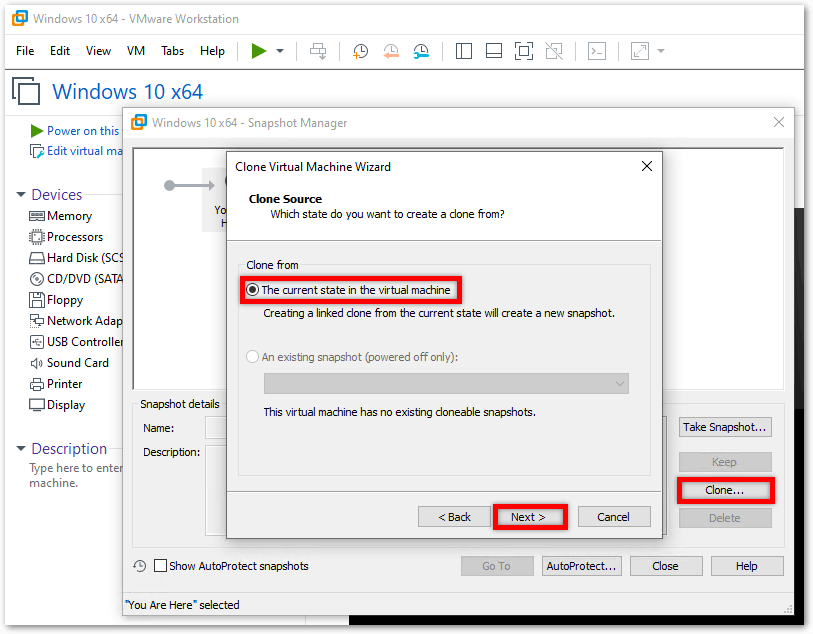
Click on “Clone” and choose “The current state of the virtual machine“.
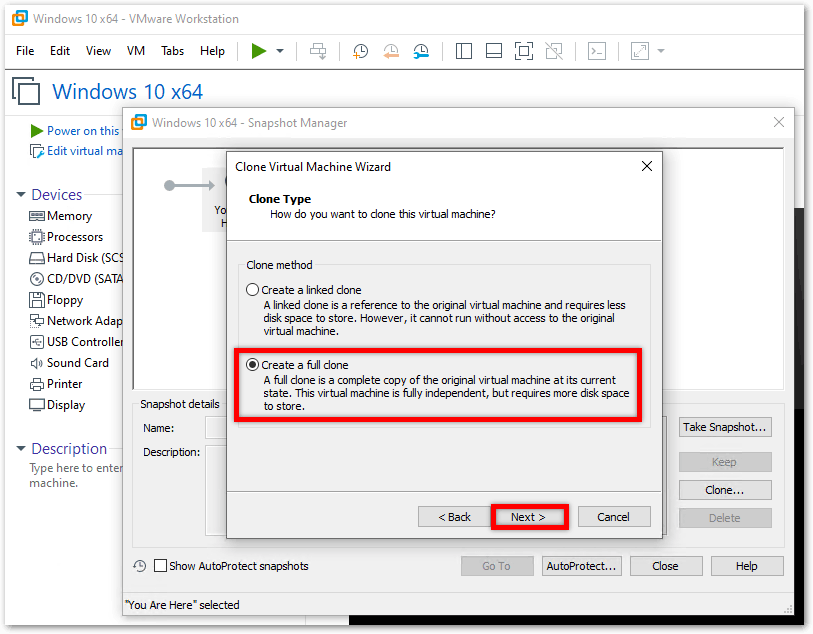
Choose “Create a full clone“.
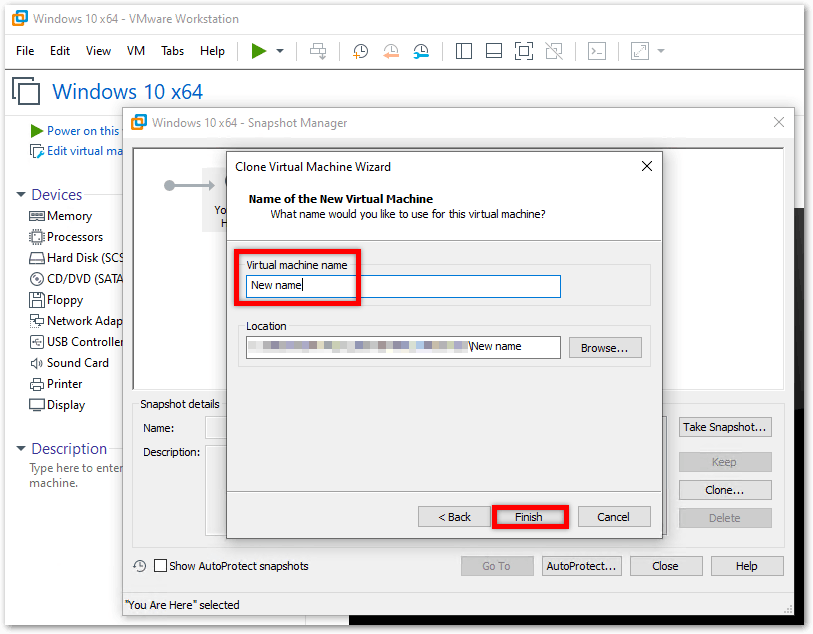
Give the VM a new name and choose where you want to save it.
Rename the VM
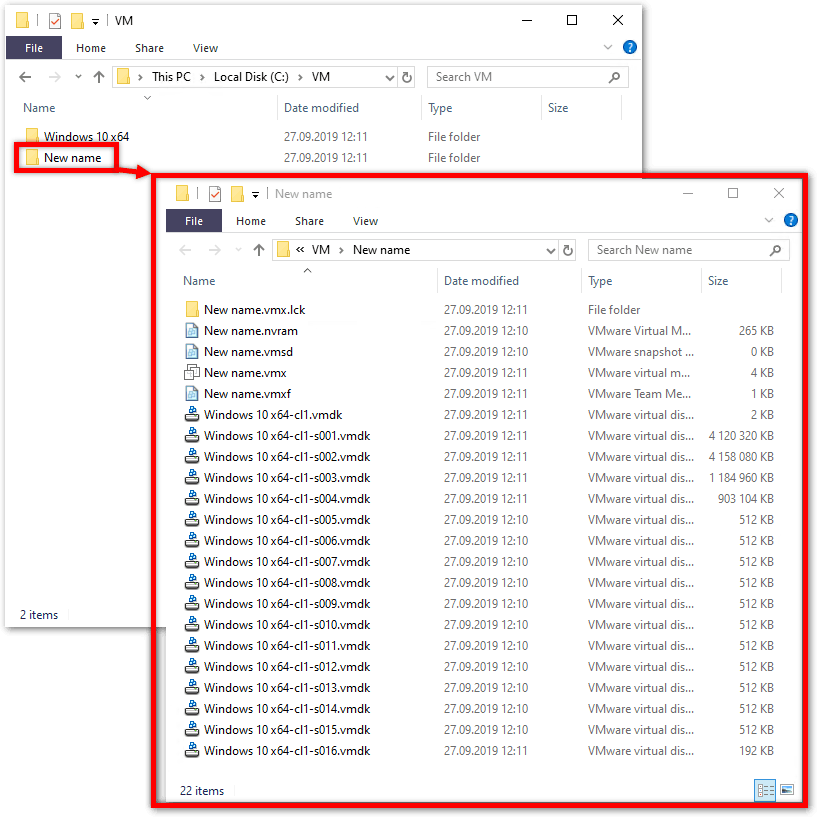
You will now have a clone of your VM with the new name. But the files in the VM folder sill have the old name followed by -cl1 😲!
So what is going on here? How can we completely make a clone with a new name then?
Download and install VMware VDDK
Download and “Virtual Disk Development Kit (VDDK)” from vmware. In my case, the ZIP file I downloaded was called “VMware-vix-disklib-6.7.0-8173251.x86_64.zip”.
Unpack the ZIP file and add the bin folder to PATH, so you can use it in the command prompt. Personally I keep the bin folder in C:\portable\vmware\Virtual Disk Development Kit (VDDK)\bin.
Use vmware-vdiskmanager to rename the VM disk
If you didn’t clone the VM but copied it, make sure you detach the VDK from the VM and rename the main folder of the VM to your new name.
Open a CMD window as admin and CD (change directory) to the parent folder of your VM.
Use vmware-vdiskmanager to rename the virtual disk/disks using the following syntax:
vmware-vdiskmanager -n "old_name" "new_name"For example vmware-vdiskmanager -n "Windows 10 x64.vmdk" "New VM name.vmdk".

This will rename the virtual disk. If you are using a split disk it will rename all the files accordingly.
Rename content in configuration files
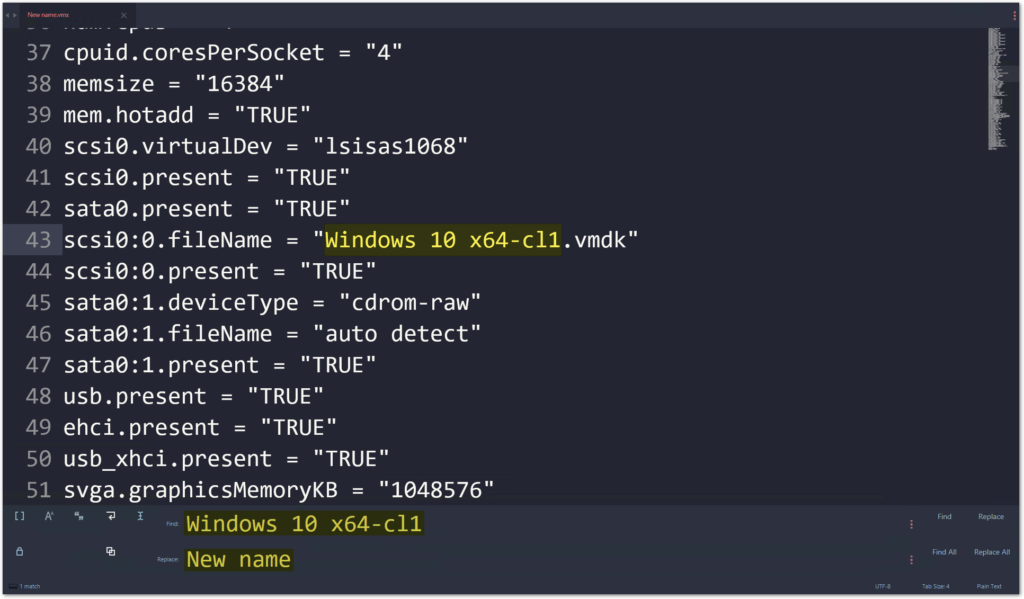
Now all you need to do is open the VMX, VMXF files in a text editor to replace all instances of the old name with the new name. You should also check the VMDK file just to make sure the old name is replaced with the new one.
Don’t forget to re-attach the virtual hard disk, if you removed it earlier.
That’s it! You may now run your new VM with the new name! 👍
Troubleshooting
Not working?
- If you get the error message
'vmware-vdiskmanager' is not recognized as an internal or external command, operable program or batch file.you don’t have Virtual Disk Development Kit (VDDK) added to PATH.
- If you get the error message
The code execution cannot proceed because MSVCR120.dll was not foundyou might have to update Virtual Disk Development Kit (VDDK) by downloading the latest version. Or it might be that you need Visual C++, which is required for VMware Workstation.
- If you get the error
Failed to rename: A file was not found (0x4).you might forgot to enter.vmdkafter the file name in the command.
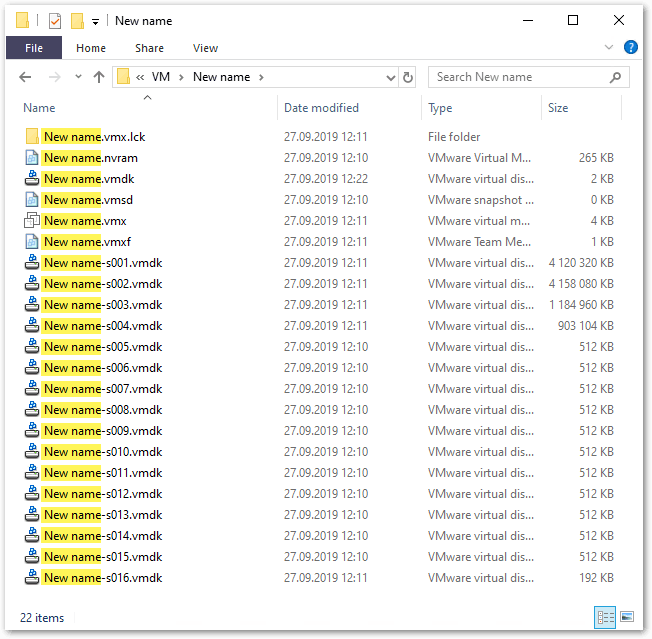
If the command works your files should be renamed.
Do you still have the VMware-vix-disklib-6.7.0-8173251.x86_64.zip file? I can’t seem to find a copy anywhere…
Hi David,
It’s been a long time since I posted this. It seems now that
vmware-vdiskmanagercomes with the installation of VMware Workstation Pro. If installed it should be available inC:\Program Files (x86)\VMware\VMware Workstation\vmware-vdiskmanager.exe.What about a virtual machine with snapshots? Your instructions seems not to work if you have snapshots?