
Setting up file shares in Windows 10 can be a little tricky sometimes. Here is a checklist you can go through if it fails.
Remember you don’t need Network discovery or HomeGroup activated.
1. Make sure both computers are connected to the same local network
If the computers are on a different WiFi or LAN they will not be able to discover each other. Make sure they are connected to the same network.
2. Set the network profile to private on the host computer
When you connect to a new network for the first time in Windows 10 you will be asked if you want the computer to be discoverable.
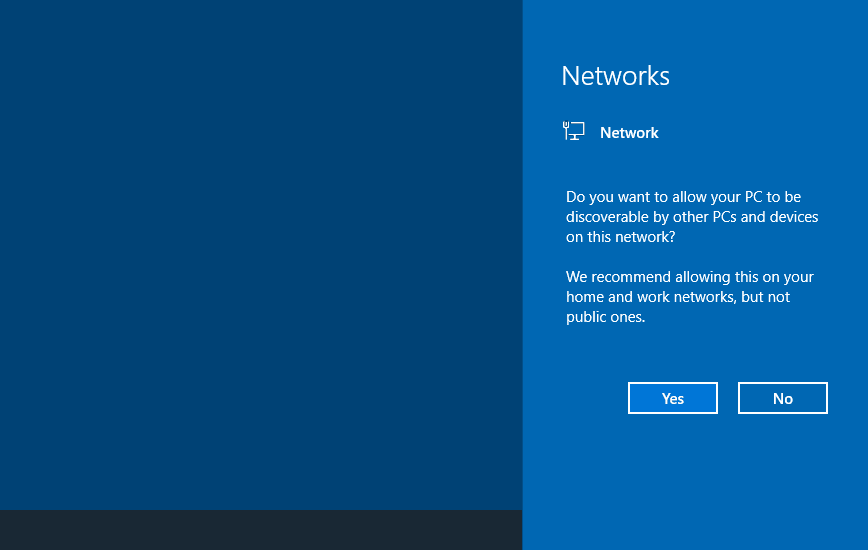
This message is called the “Network Location Wizard“. If you didn’t pick anything, or you clicked on No, the network will be set to Public. If you clicked on Yes, the network will be set as Private.
Public and private are two types of network profiles that determine which firewall rules to apply for the network.
In order to set up a file share, we need to set the network to Private both on the sharing computer and the computer for which we want access to the file share.
If you missed this message or you can’t remember what you clicked on you can change this later.
To change the network profile go to:
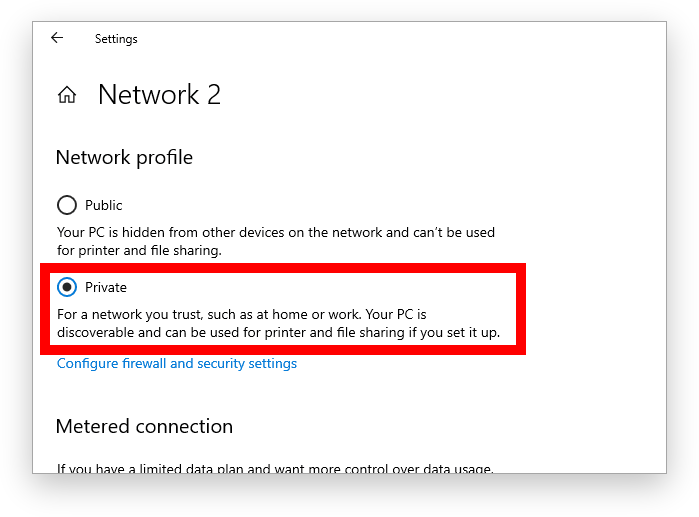
Start ➜ Settings ➜ Network & Internet ➜ Status ➜ Properties
Under Network profile make sure you set the network profile as Private.
3. Set the network profile to private on the remote computer
Do the exact same step as the previous for the remote computer. The computer you want to use for connecting to the file share.
4. Make sure the host computer has a computer name
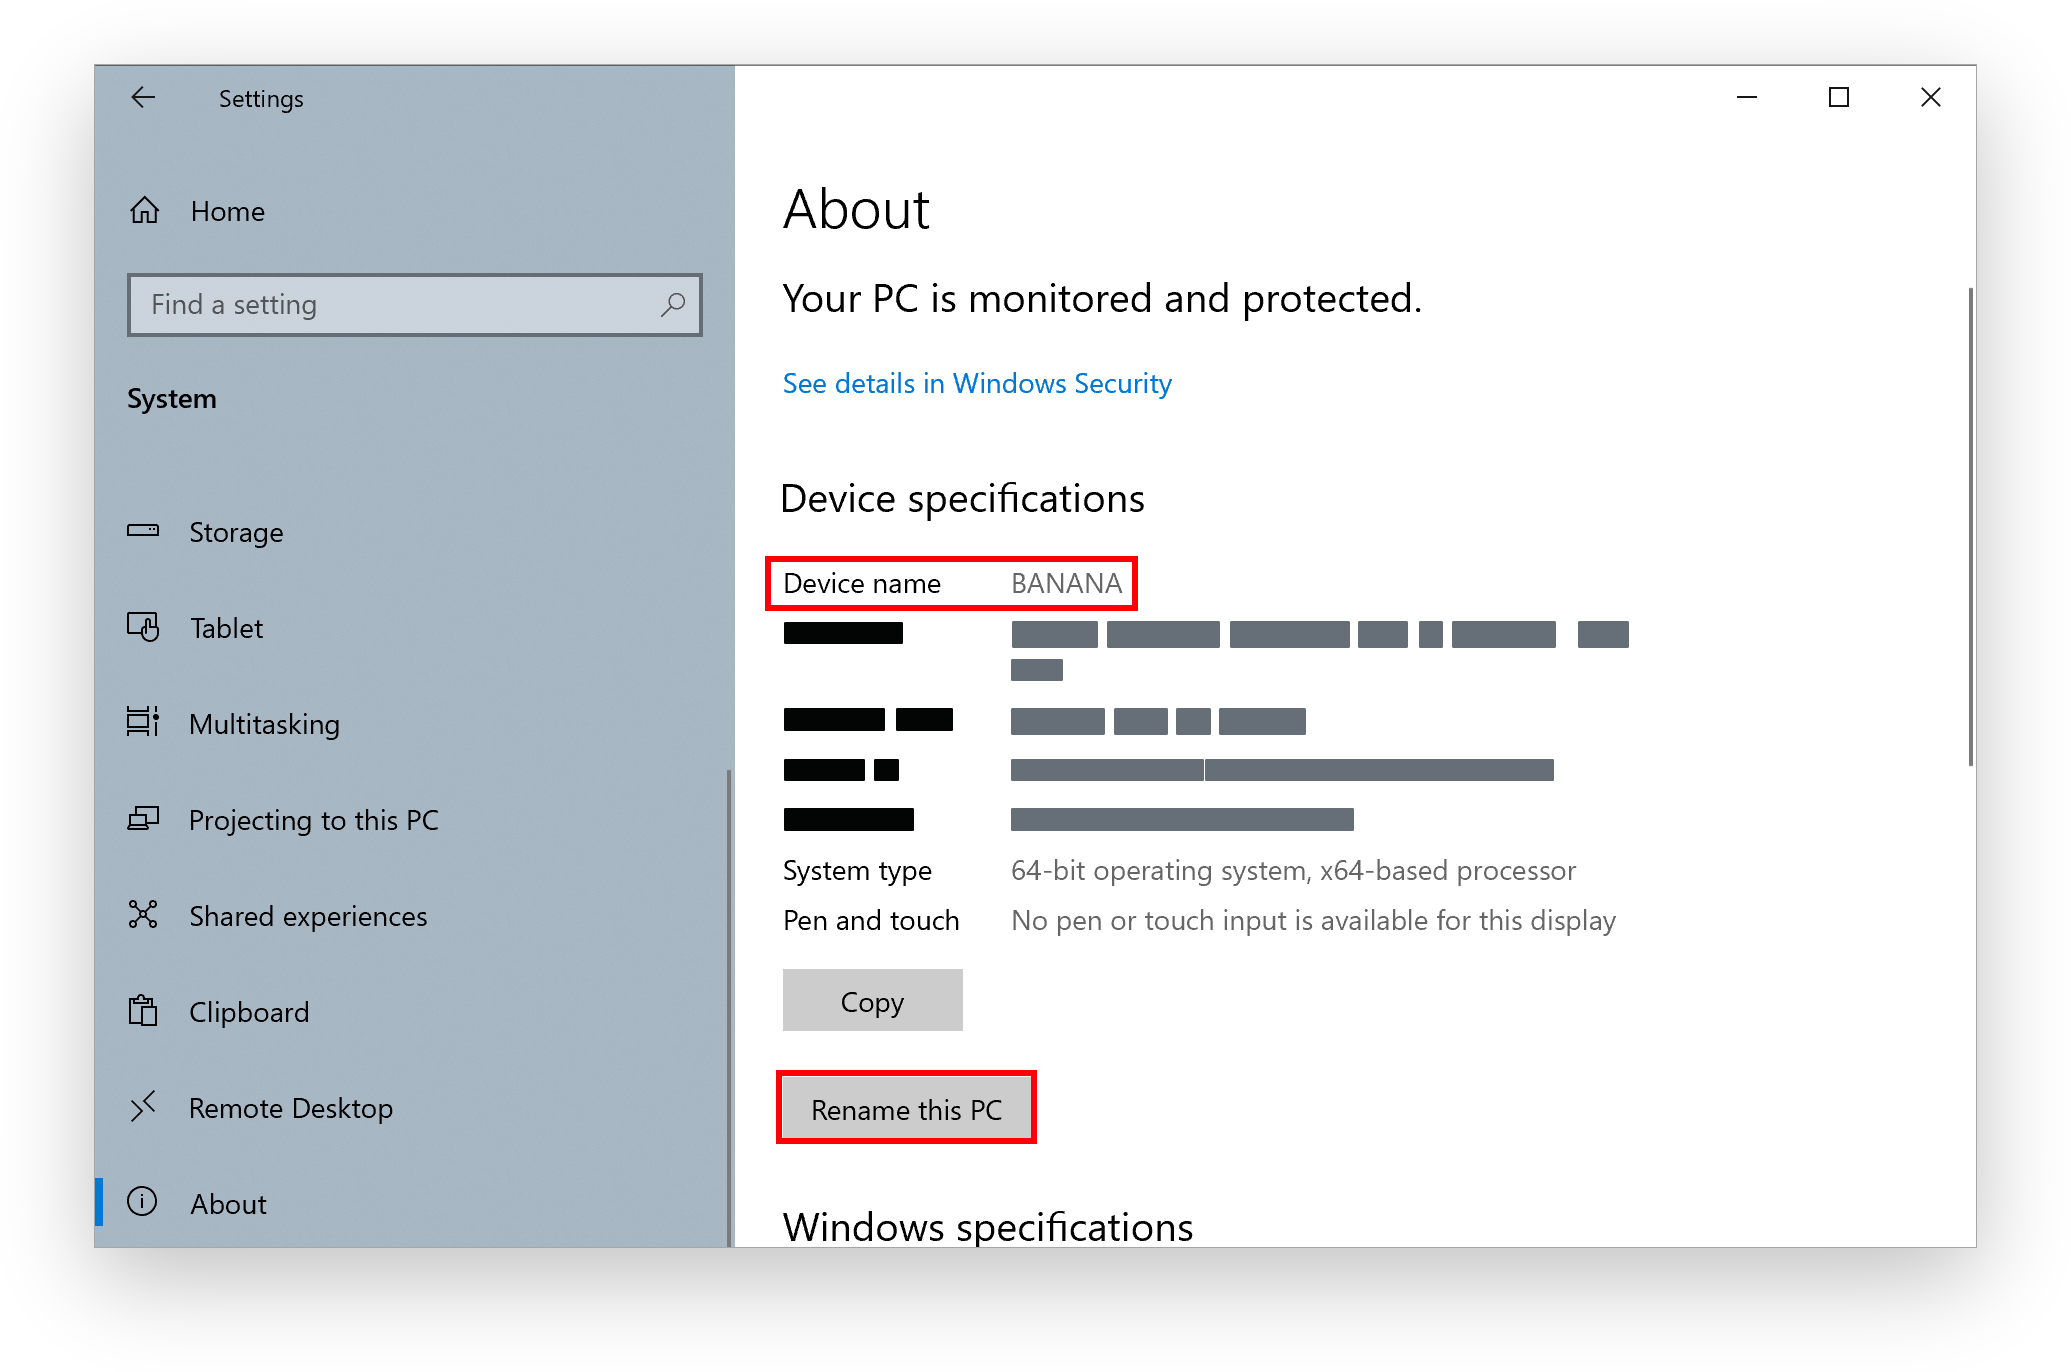
On the host computer:
Settings ➜ System ➜ About ➜ Rename this PC. Add a name to the following dialogue box, click Next and restart the computer.
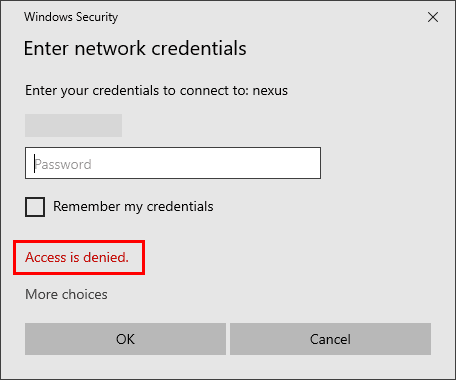
5. Add a password to the remote computer
Windows will not let you connect to the file share if the host computer does not have a password.
6. Turn on “file and printer sharing” on the host computer
On the computer, you want to host the file share go to:
Control Panel ➜ Network & Internet ➜ Network and Sharing Center ➜ Change advanced sharing settings.
Under Private select the following:
- Turn off: Network discovery
- Turn on: File and printer sharing
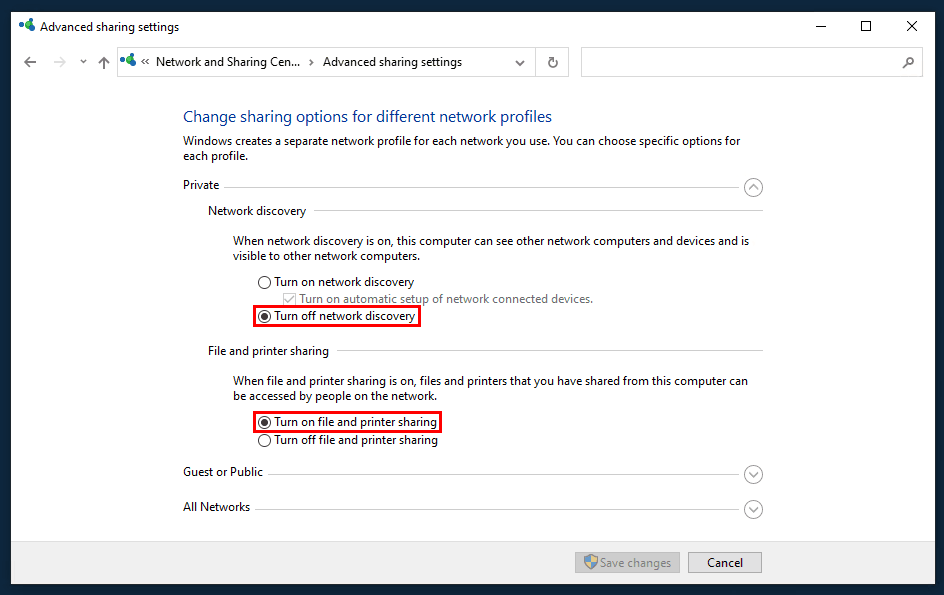
This will allow file sharing on your Private network.
7. Optional: Enable admin shares
Although the previous steps should be enough to set up a file share, you can additionally enable admin shares, but this will not solve any problems if the previous steps did not work.
Admin shares are hidden shares that only admin-users can access. A common example is the root directory of a drive, for example \\remotecomputer\c$. By default, you will be blocked by UAC when trying to access these shares, even with an admin account.
According to Microsoft, if you are not connected to a domain and you want to access admin shares with a local user account, you have to disable UAC remote restrictions on the remote computer hosting the file share.
Open Regedit and go to the following subkey:
HKEY_LOCAL_MACHINE\SOFTWARE\Microsoft\Windows\CurrentVersion\Policies\SystemAdd a D-WORD and call it LocalAccountTokenFilterPolicy and set the key to 1.
Restart the remote computer and you should be able to access admin shares by typing in the path in Windows Explorer.
Troubleshooting tips
If the above steps do not it might be that other software is making trouble, for example, VPN clients. Try to turn off these temporarily to find the cause.
8. Optional: Add users and delegate access
If you are just going to access the file share with your host computer’s local admin account, you can skip this step.
However, if you want to delegate access to different users on the network you will have to create those user accounts.
There are many ways to do it. You can use the new Windows 10 settings, the control panel, CMD, or Computer management.
After adding the user to the host computer make sure you remember to share the file with that user.
Sources:
https://www.adamcouch.co.uk/localaccounttokenfilterpolicy-accessing-the-c-with-a-local-account
https://blog.ahasayen.com/remote-local-administrator-localaccounttokenfilterpolicy/