
Hardware requirements
- Quad-core x64 architecture 2 GHz CPU or higher
- 8-GB RAM or more.
- 40 GB+ available hard disk space.
Software requirements
- Microsoft Dynamics CRM Server 2013 can be installed only on Windows Server 2008 R2 (Standard/Enterprise/Datacenter/Web Server) or Windows Server 2012 Datacenter/Standard 64-bit-based computers.
- The computer that should run Microsoft Dynamics CRM Server 2013 has to be a member of an Active Directory forest with Windows Server 2003/20018 Interim/Native or Windows Server 2012 functional level.
- Internet Information Services (IIS) versions 7, 7.5, or 8.0.
You can use any of the following SQL Server versions:
- Microsoft SQL Server 2008, Standard Edition, x64 SP3 or R2 SP2
- Microsoft SQL Server 2008, Enterprise Edition, x64 SP3 or R2 SP2
- Microsoft SQL Server 2008 Datacenter x64 SP3 or R2 SP2
- Microsoft SQL Server 2008 Developer x64 SP3 or R2 SP2 (for non-production environments only)
- Microsoft SQL Server 2012, Enterprise, 64-bit SP1
- Microsoft SQL Server 2012, Business Intelligence, 64-bit SP1
- Microsoft SQL Server 2012, Standard, 64-bit SP1
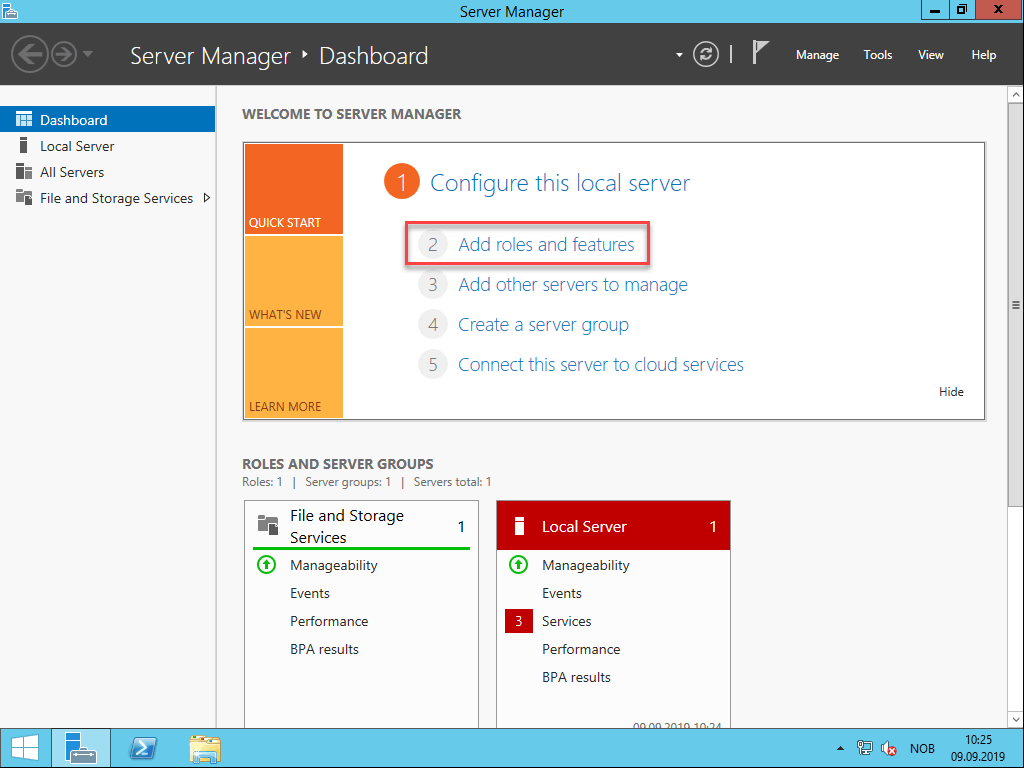
Promote the server to a domain controller
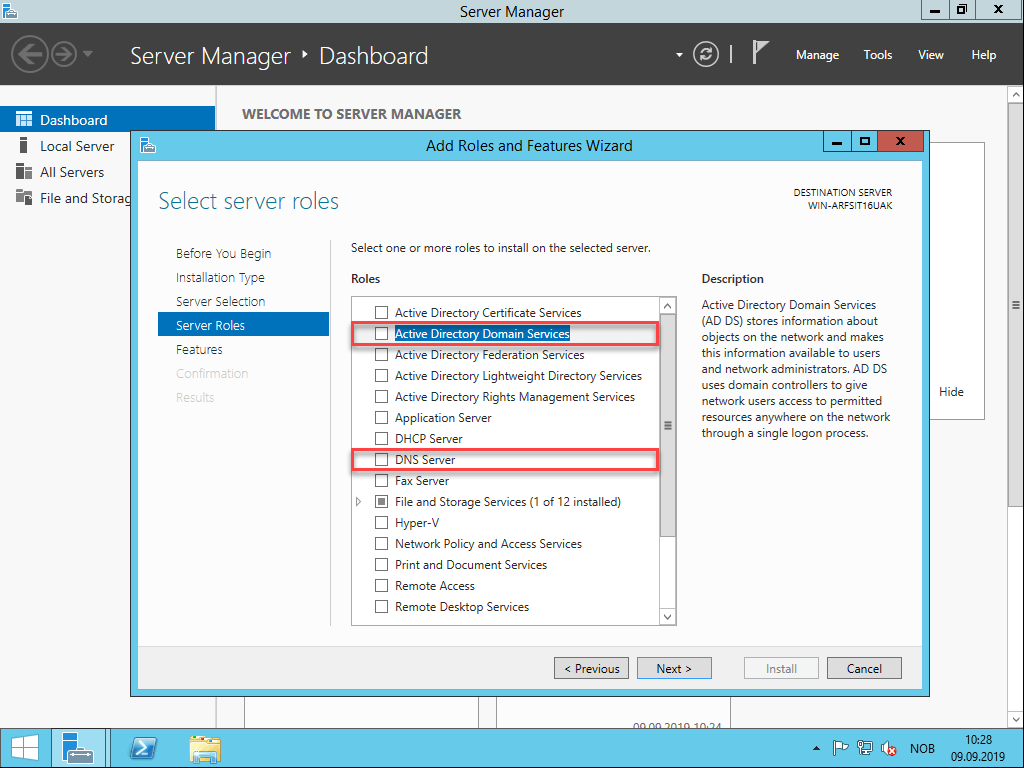
Go to Server Manager and click on Add roles and features.
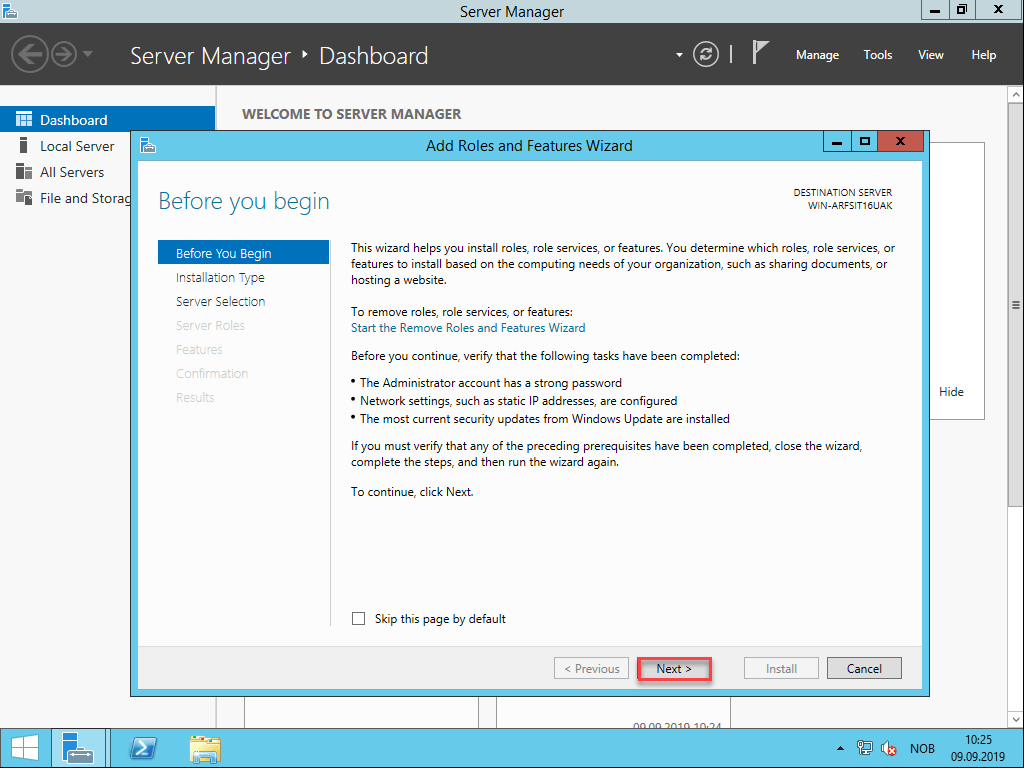
Click on next.
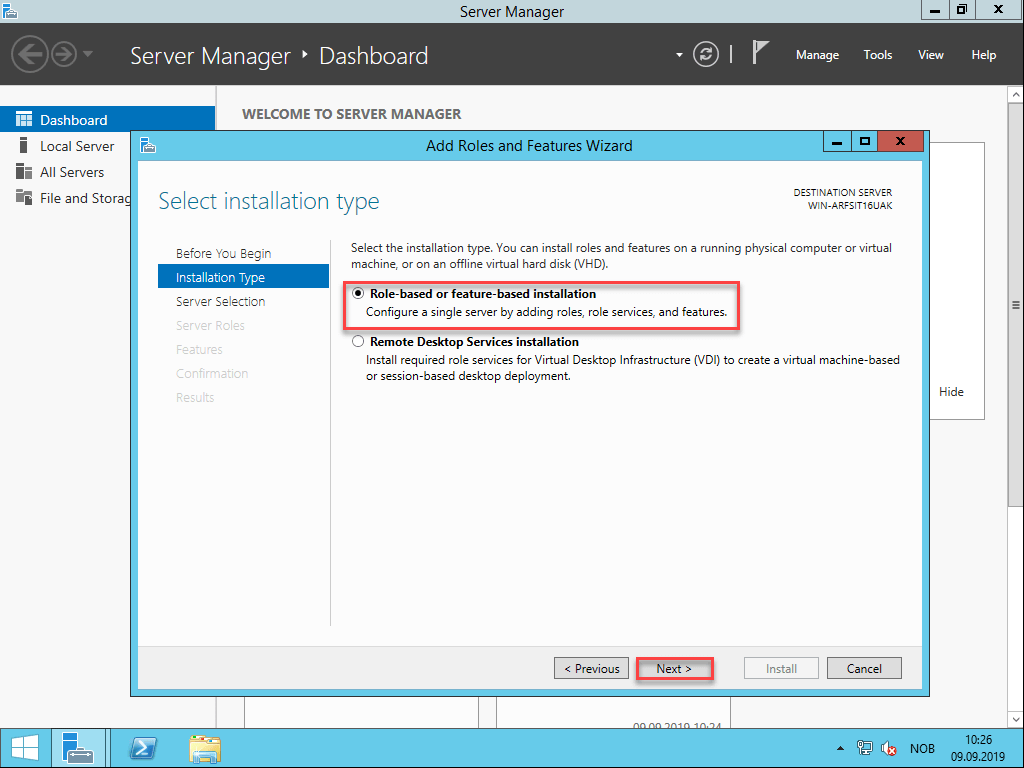
Select Role-based or feature-based installation Click on next.
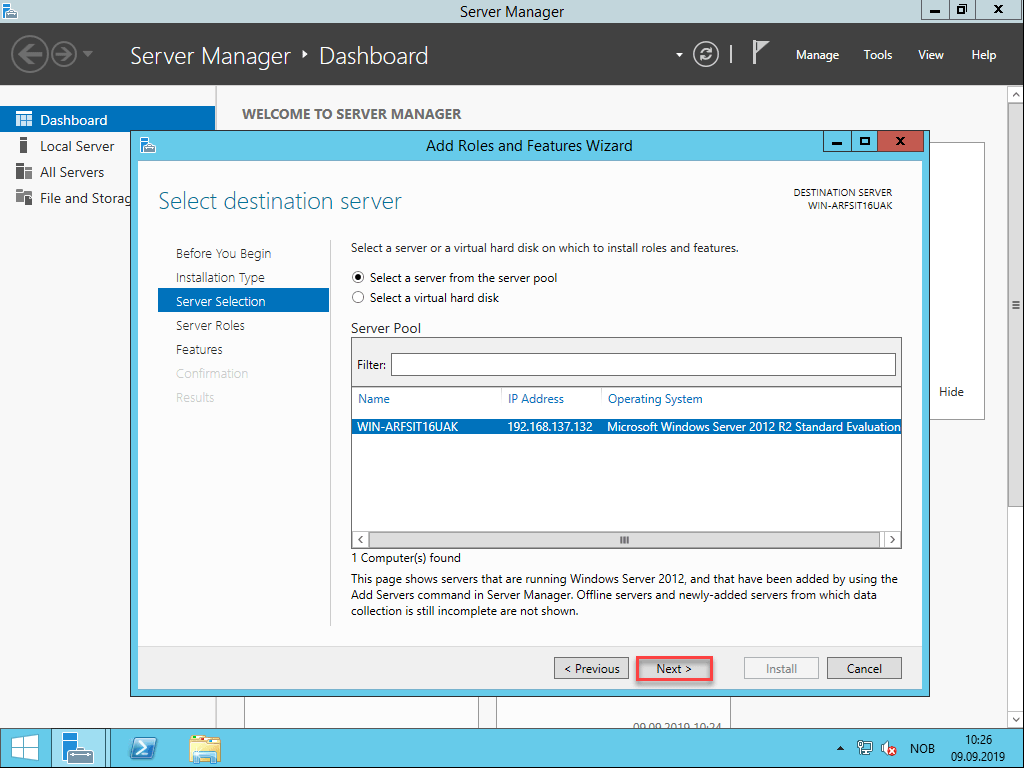
If you only have one server and this is a VM for testing purposes you can just choose Select a server from the server pool and choose the computer you are working on.
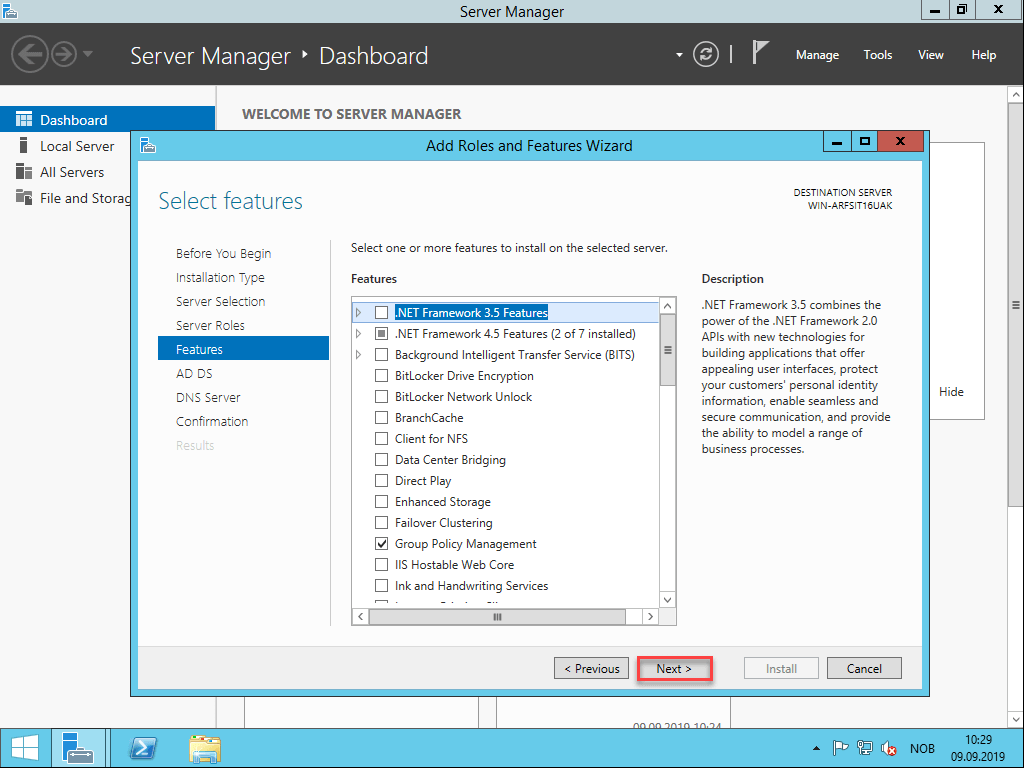
Select Active Directory Domain services and DNS Server. If you get any errors just continue. You need all sub-components of each Role.
Click on next.
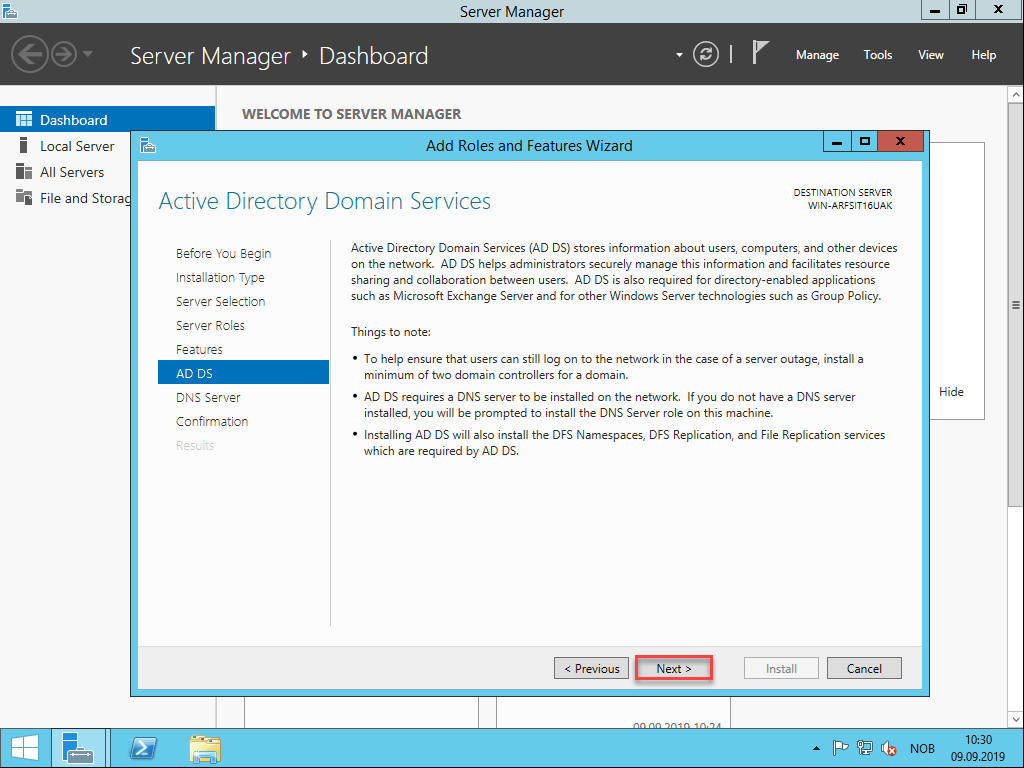
Click on next.
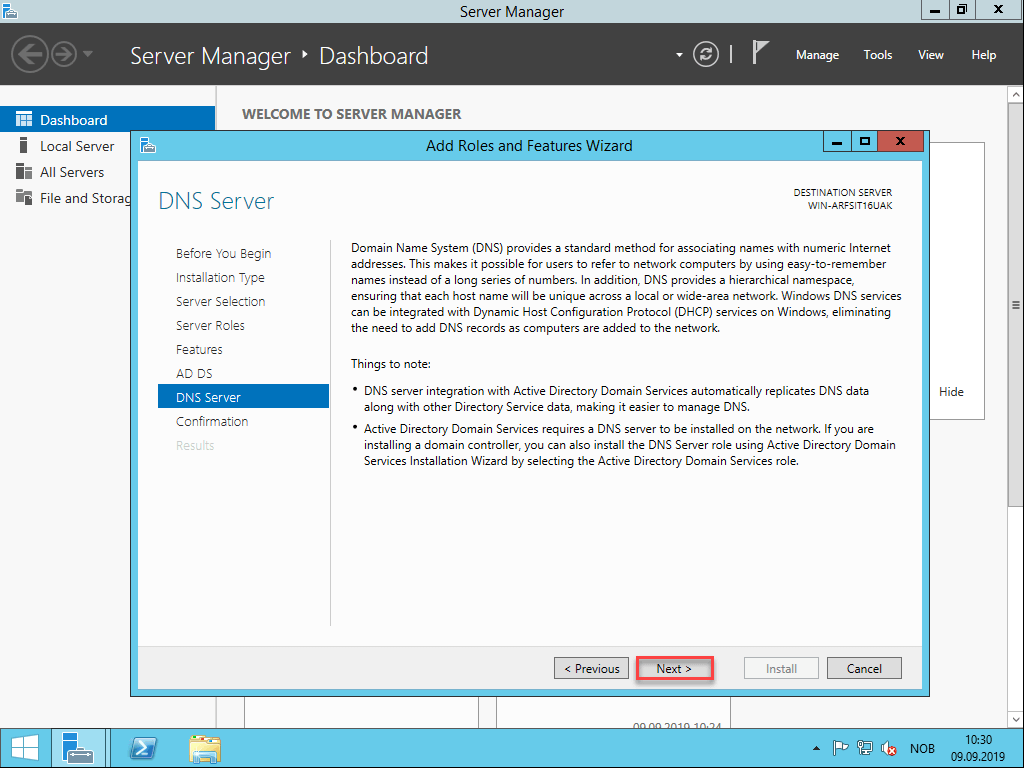
Click on next.
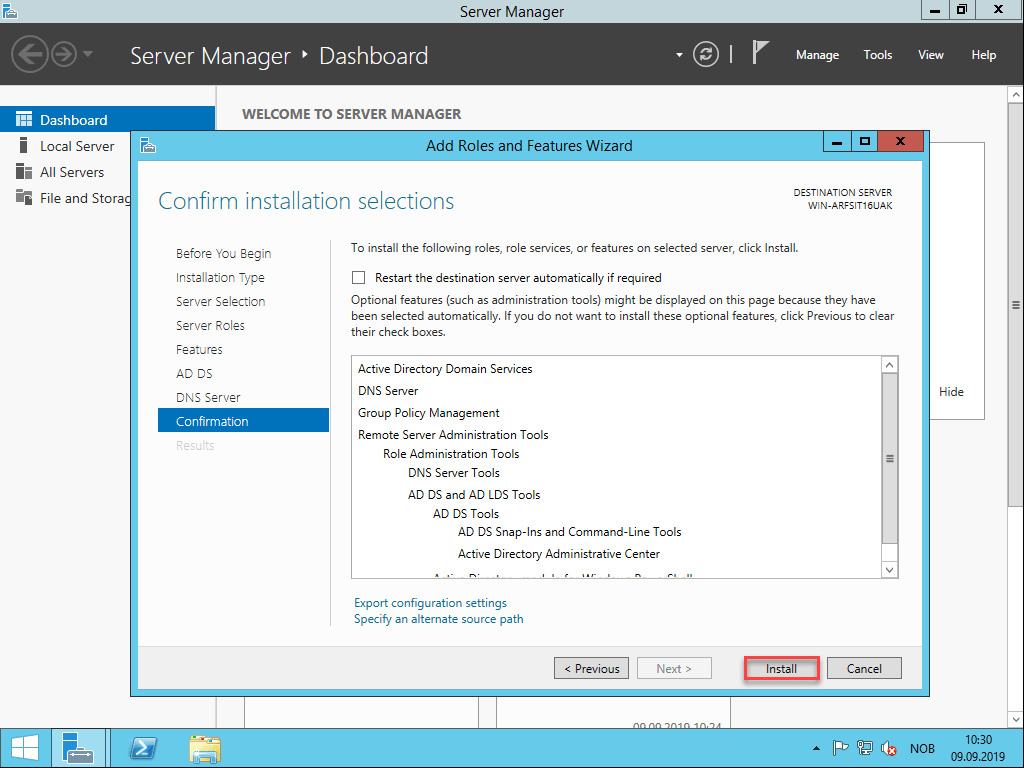
Click on Install.
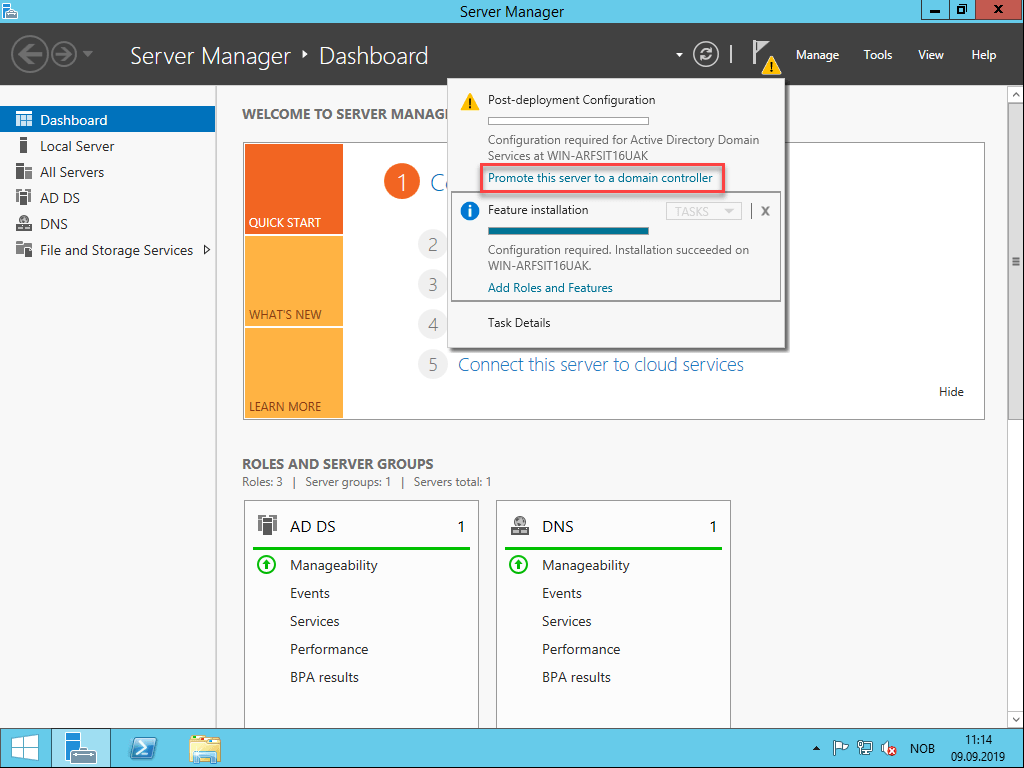
When the installation is complete click on the warning symbol ⚠ and click on Promote this server to a domain controller.
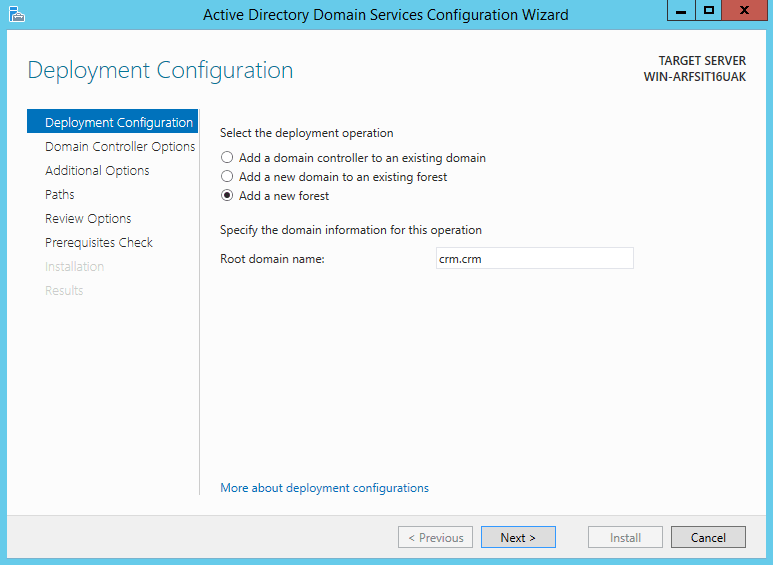
You can call the domain anything really for example dev.crm.
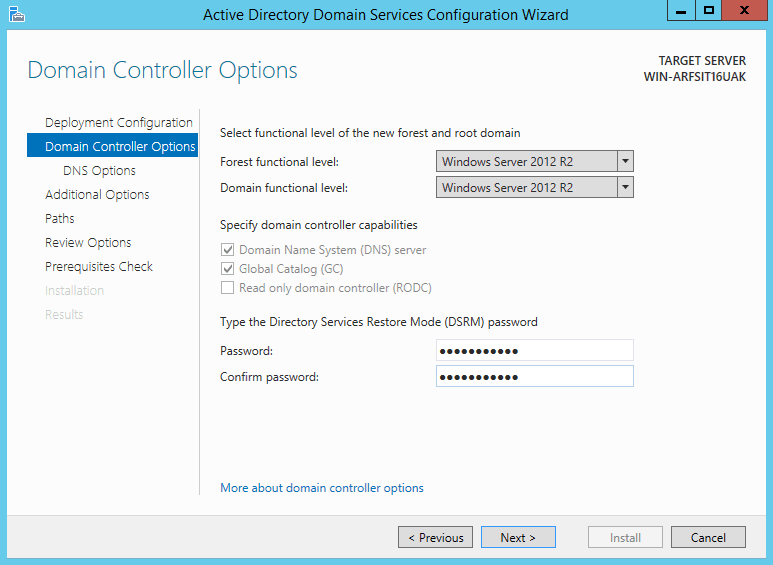
Enter a DSRM password of your choice and click next.
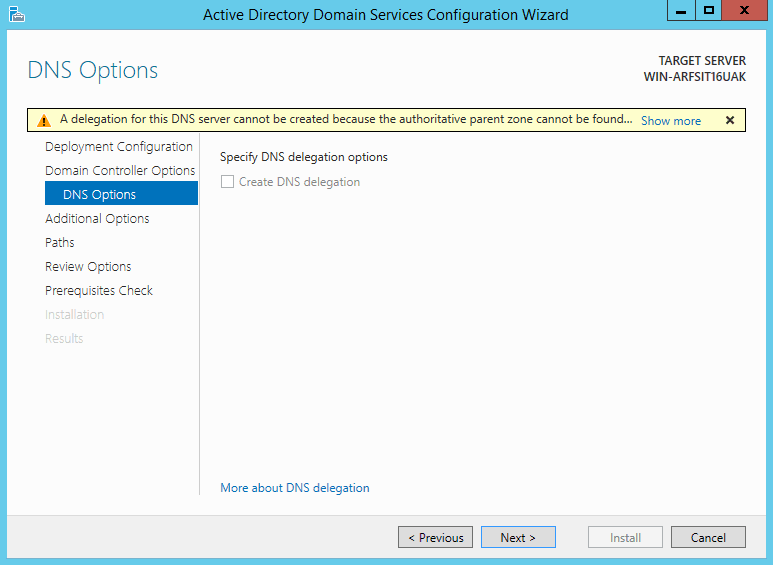
Click on next.
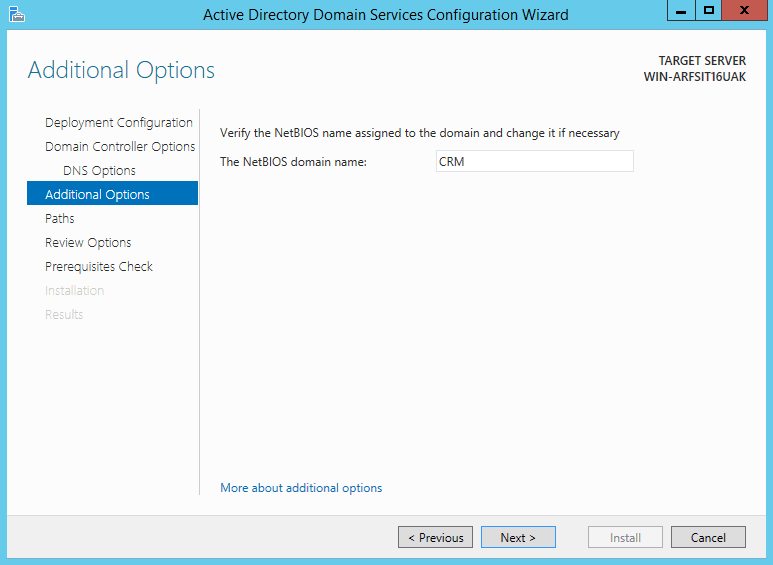
Confirm the NetBIOS name and click on next.
Click on next.
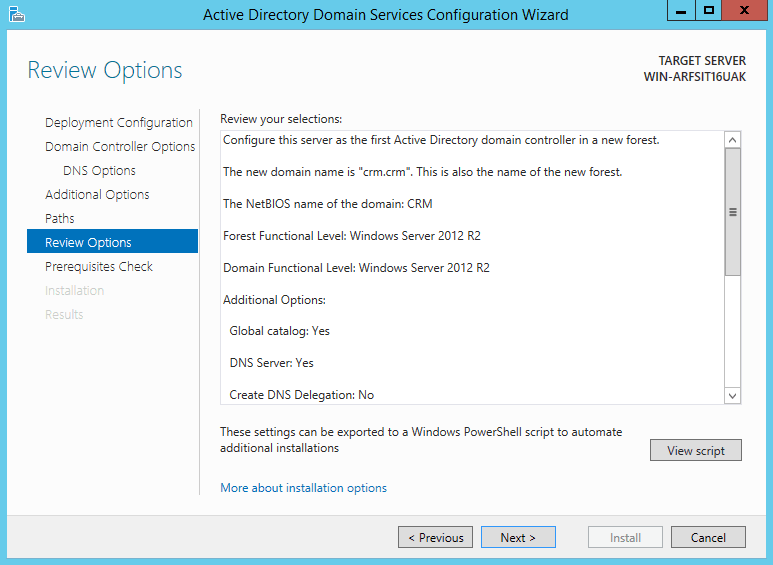
Click on next.
Click on install.
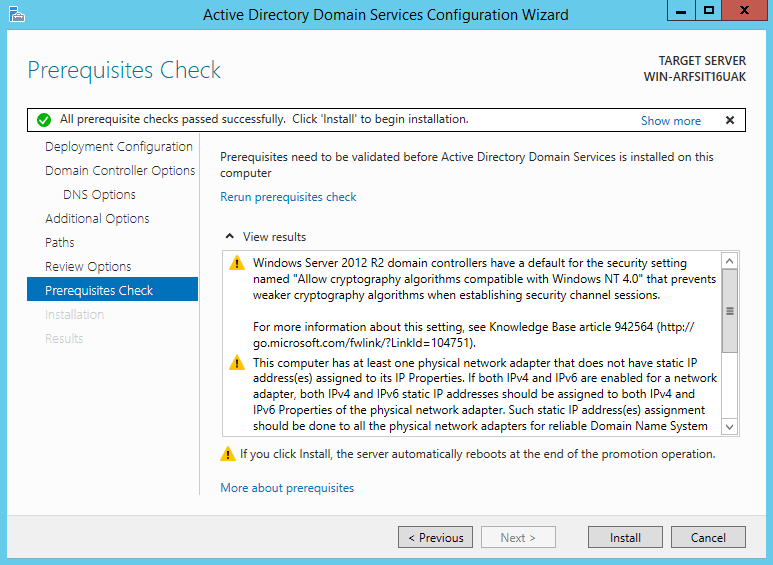
Wait for the restart and the installation is complete.
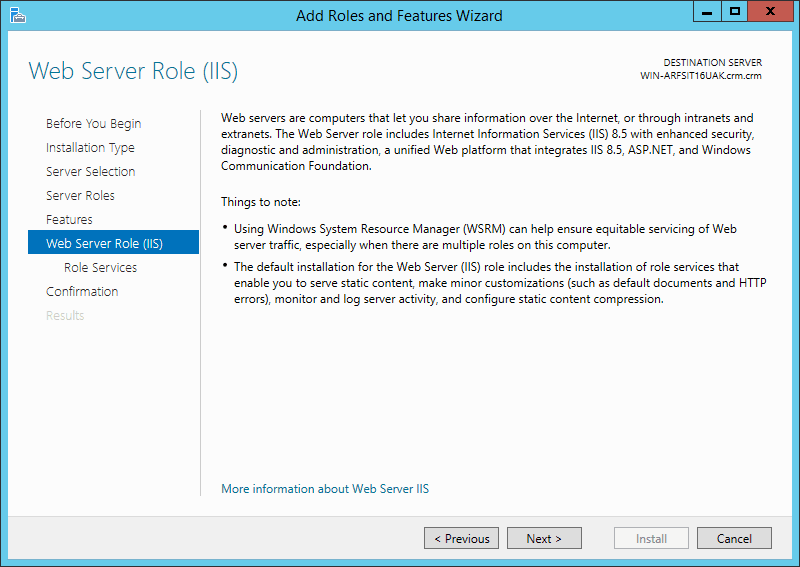
Install IIS Web Server
Go to Server Manager and click on Add roles and features.
Click on next.
Select Role-based or feature-based installation Click on next.
If you only have one server and this is a VM for testing purposes you can just choose Select a server from the server pool and choose the computer you are working on.
Select Web Server IIS.
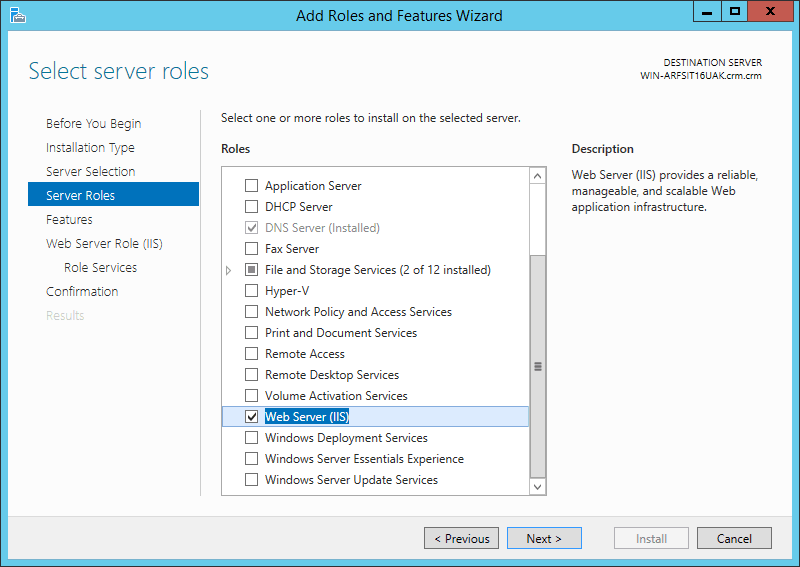
Add .NET Framework 3.5 Features.
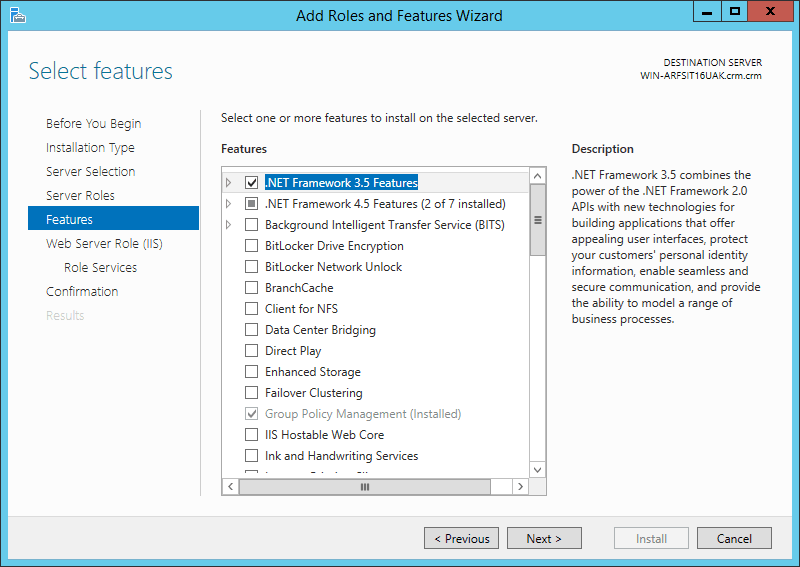
Click on next.
Add Windows Authentication and IIS 6 Management Compability.
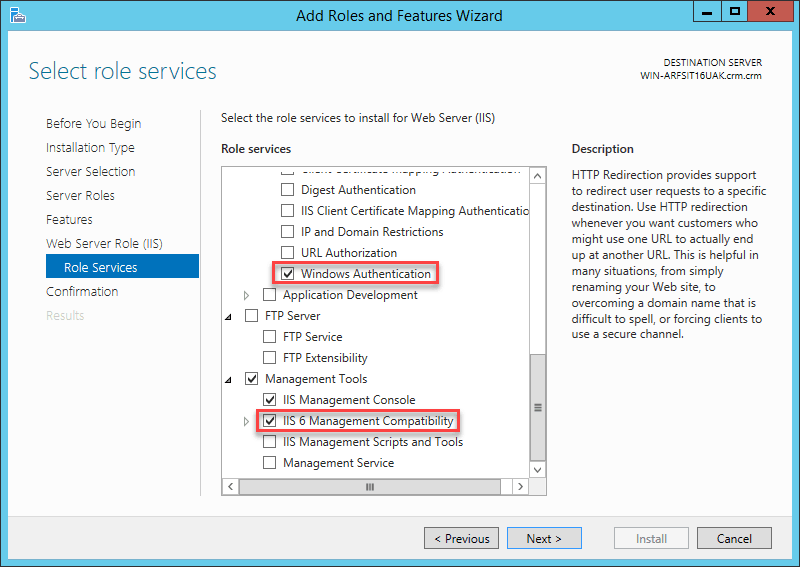
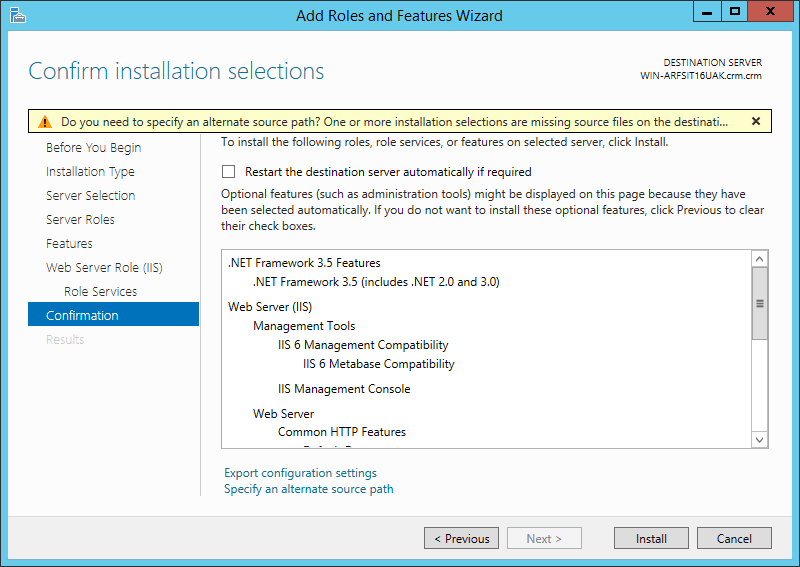
Click on Install.
Close the window when the installation is complete.
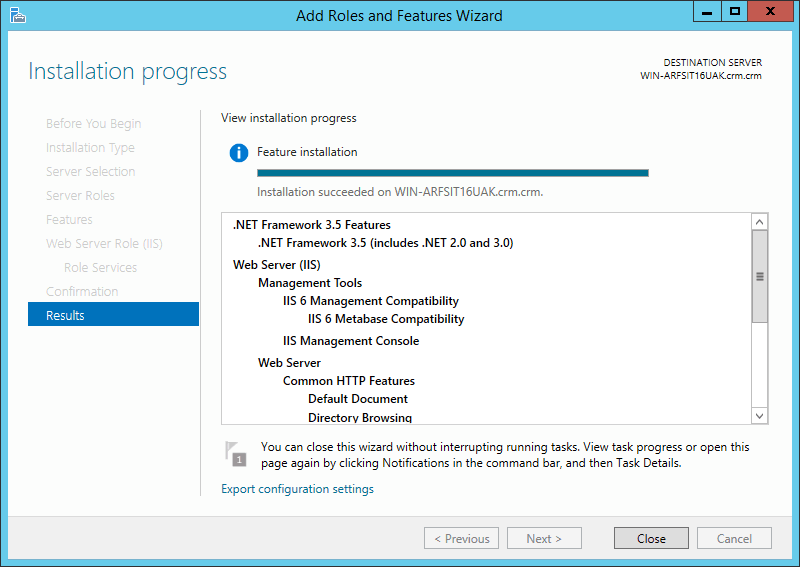
Internet Information Services Web server is now installed.
Create SQL Servive account user in Active Directory
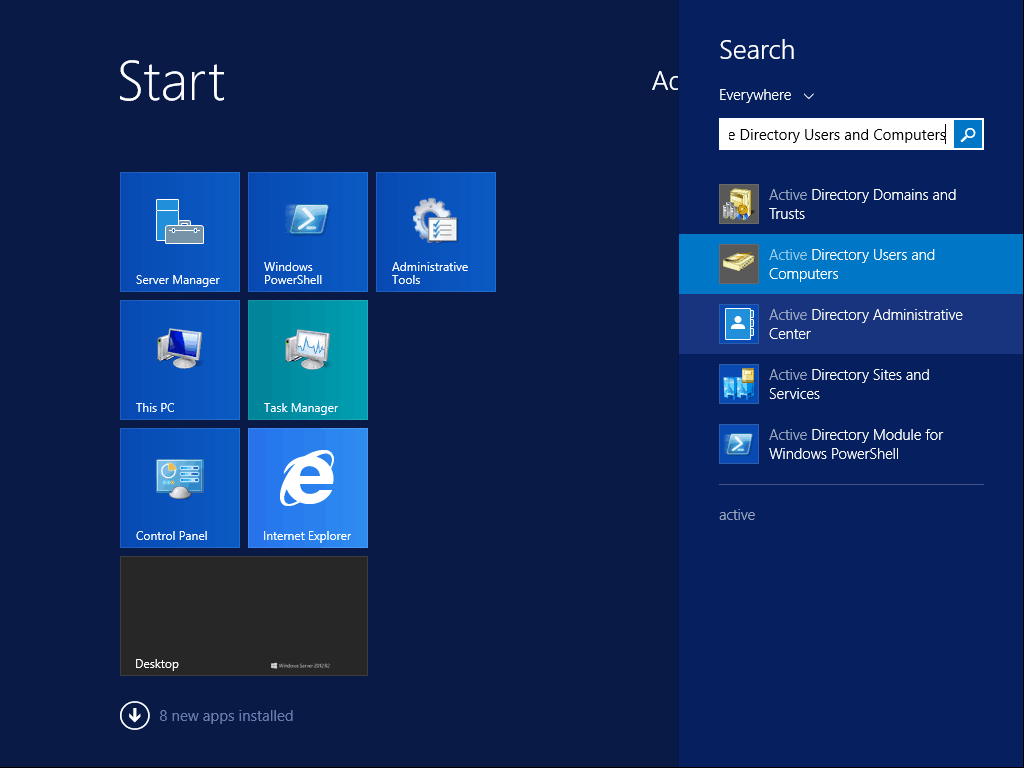
Open Active Directory Users And Computers from Start.
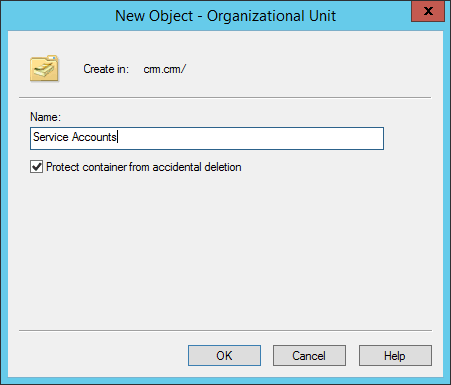
Right-click on the domain root and add a new Organizational Unit (OU).
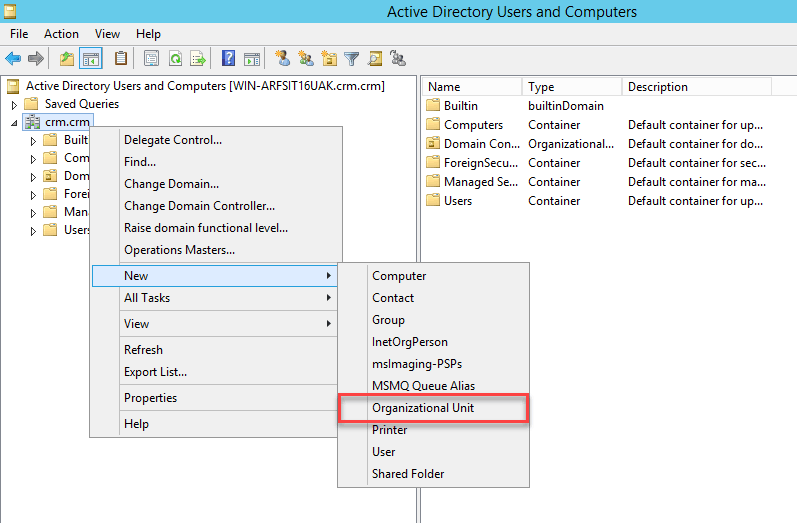
Name the OU Service Accounts.
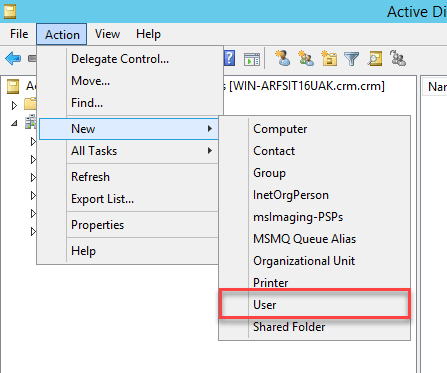
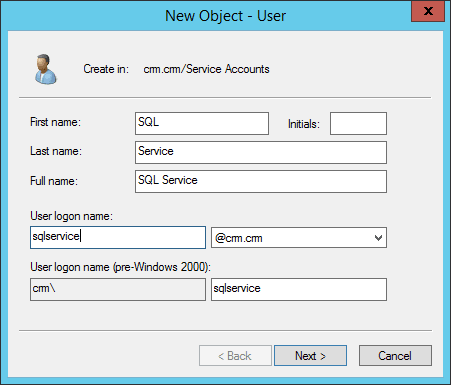
Add a user in the OU you created.
Give the user the properties:
First name: SQL
Last name: Service
Full name: SQL Service
User logon name: sqlservice
Use the default domain extension and pre-Windows 2000 logon name.
Give the account a password and check the option Password never expires.

Install SQL server
Get a copy of SQL Server 2012 Enterprise Edition with Service Pack 1. Usually, you have to download this from Microsoft Volume Licensing Center but here are the details of the ISO.
Product name: SQL Server 2012 Enterprise Edition with Service Pack 1 (x64) - DVD (English)
File Name: en_sql_server_2012_enterprise_edition_with_sp1_x64_dvd_1227976.iso
Languages: English
File Size: 3720 MBytes
SHA1 Hash: 29EDF2272DF2EE5D0EBD70866133B04AB6B1CFA7
File Type: DVD
Architecture: x64
Language: English
Release Date: 2012-12-10 09:22:47
Product ID 1200
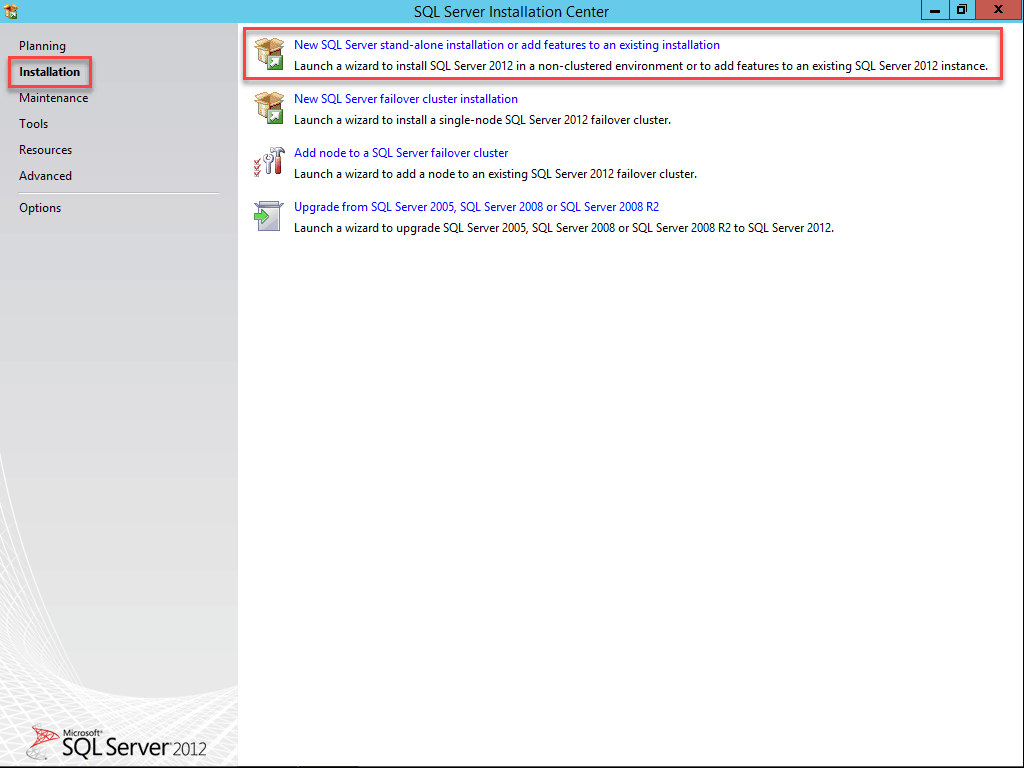
File ID 51800Start the installation D:\x64\LandingPage.exe and click on Installation and then New SQL Server stand-alone installation or add features ton an existing installation.
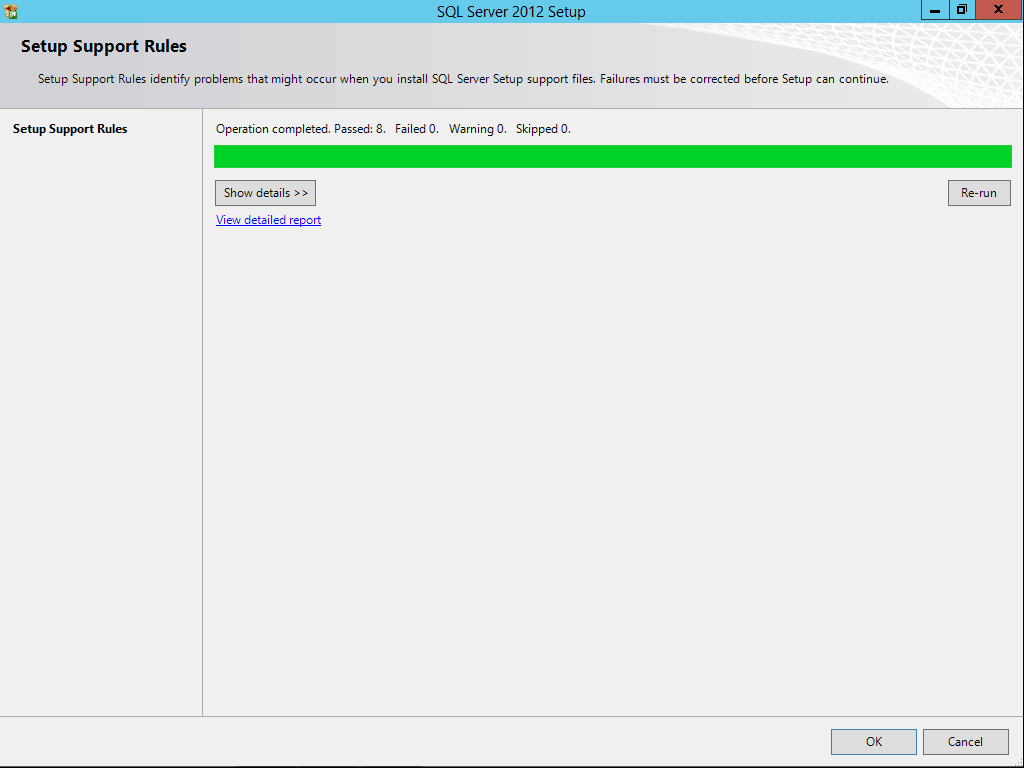
Let the system configuration check report run and click on OK.
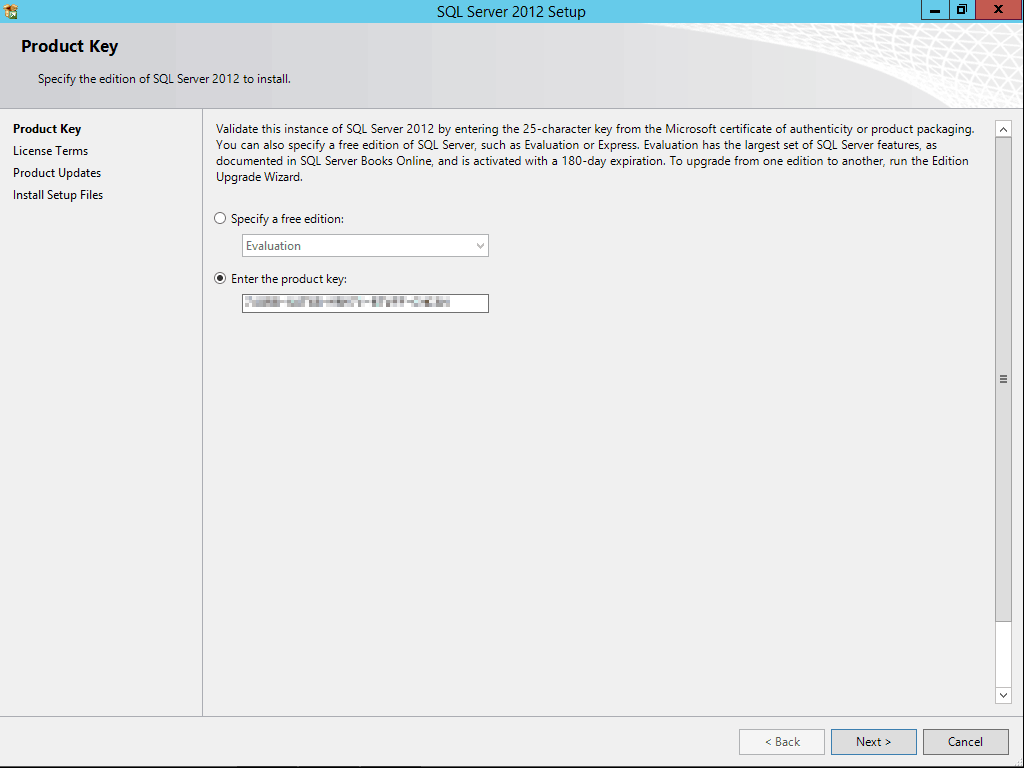
Enter your license key, if you have one.
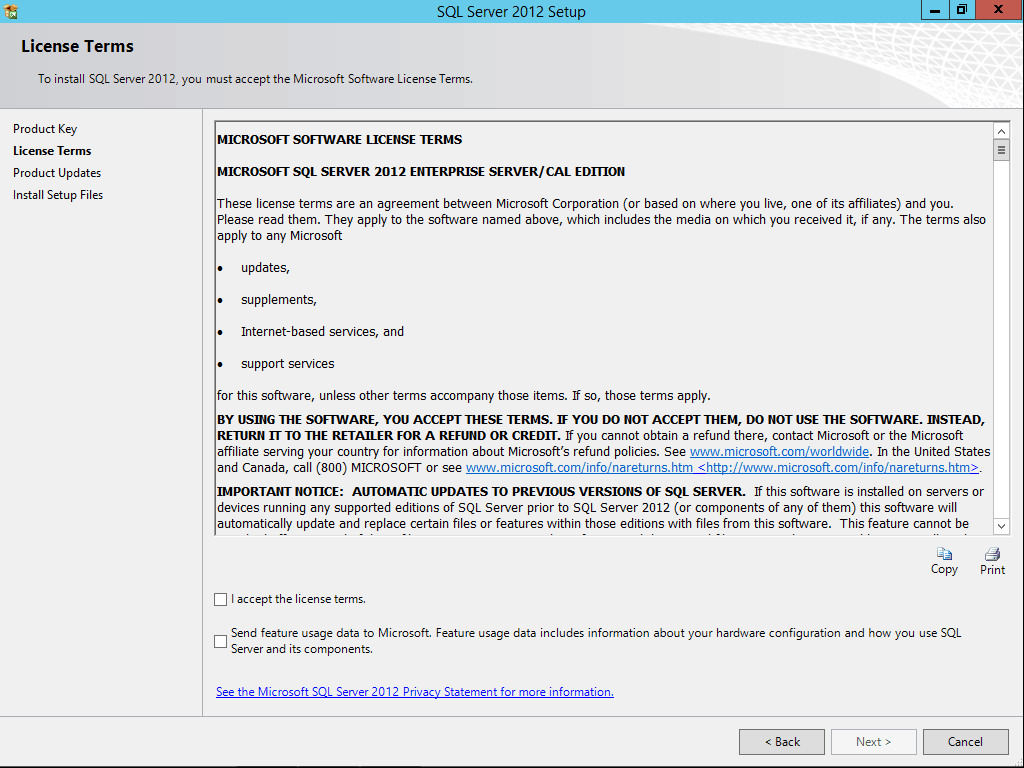
Accept the license terms, if you accept them and click on Next.
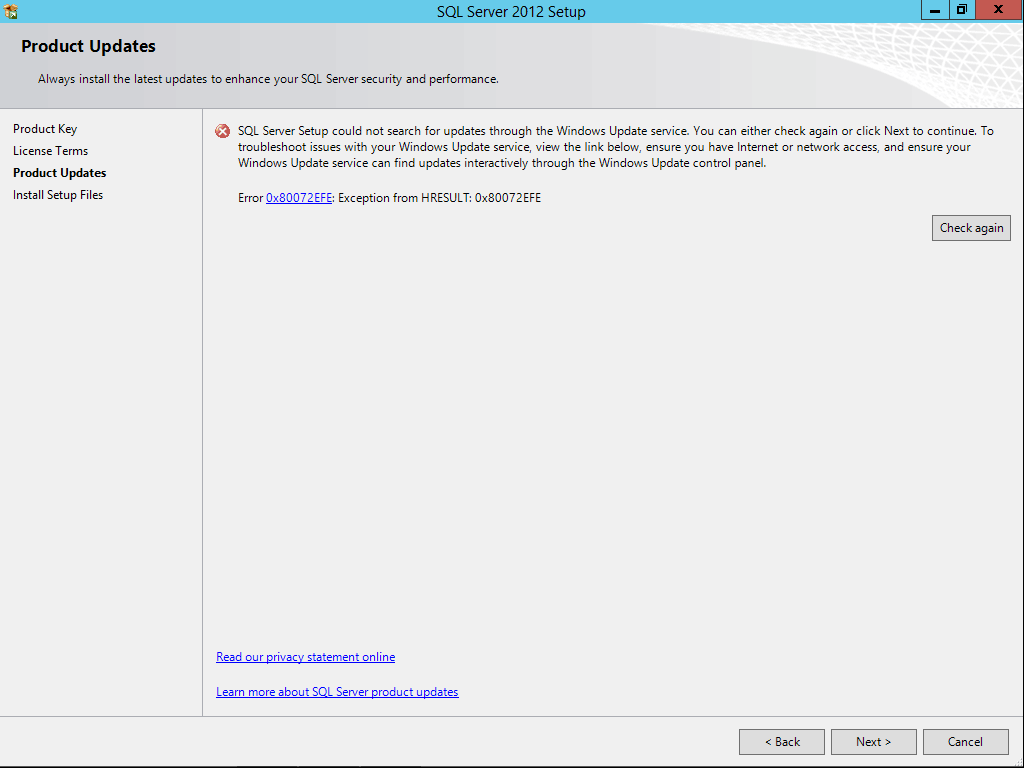
You might get an error saying “SQL Server setup could not search for updates…”. In this case you can either continue or check out this guide from Microsoft.
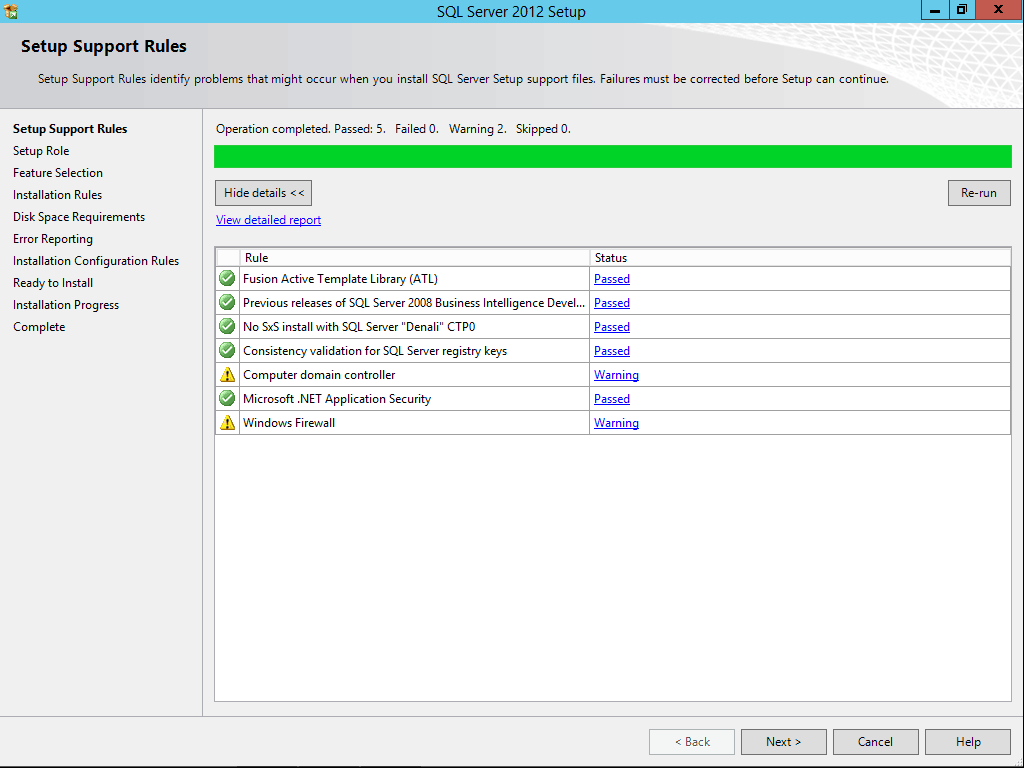
You might get warnings about “Computer domain controller”, “Microsoft .NET Application Security” and “Windows Firewall” but these are not important for what we are doing here. Just click next.
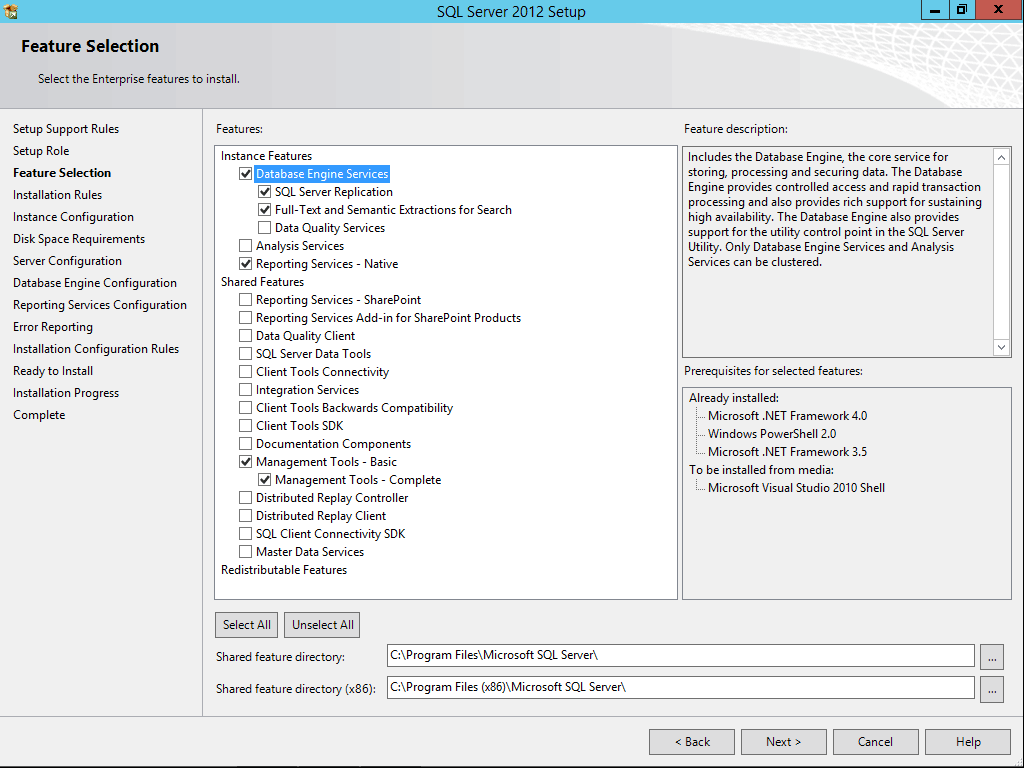
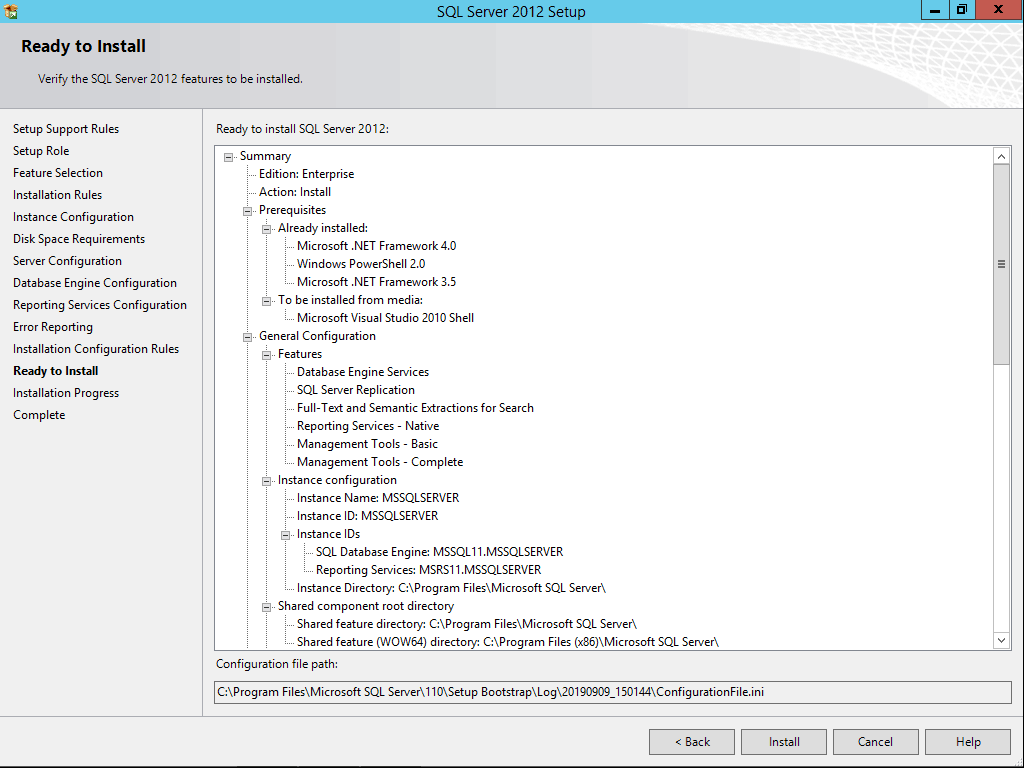
Select SQL Server Feature Installation and click on next.

Select the following features and click on next:
- Database Engine Services
- SQL Server Replication
- Reporting Service – Native
- Management Tools
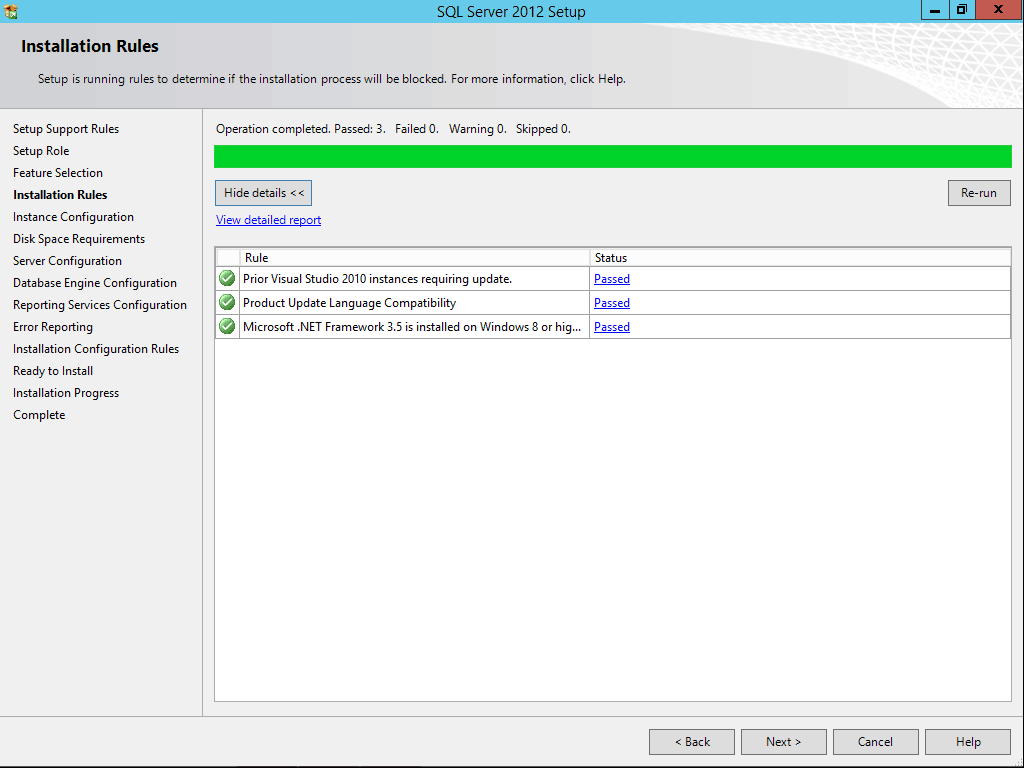
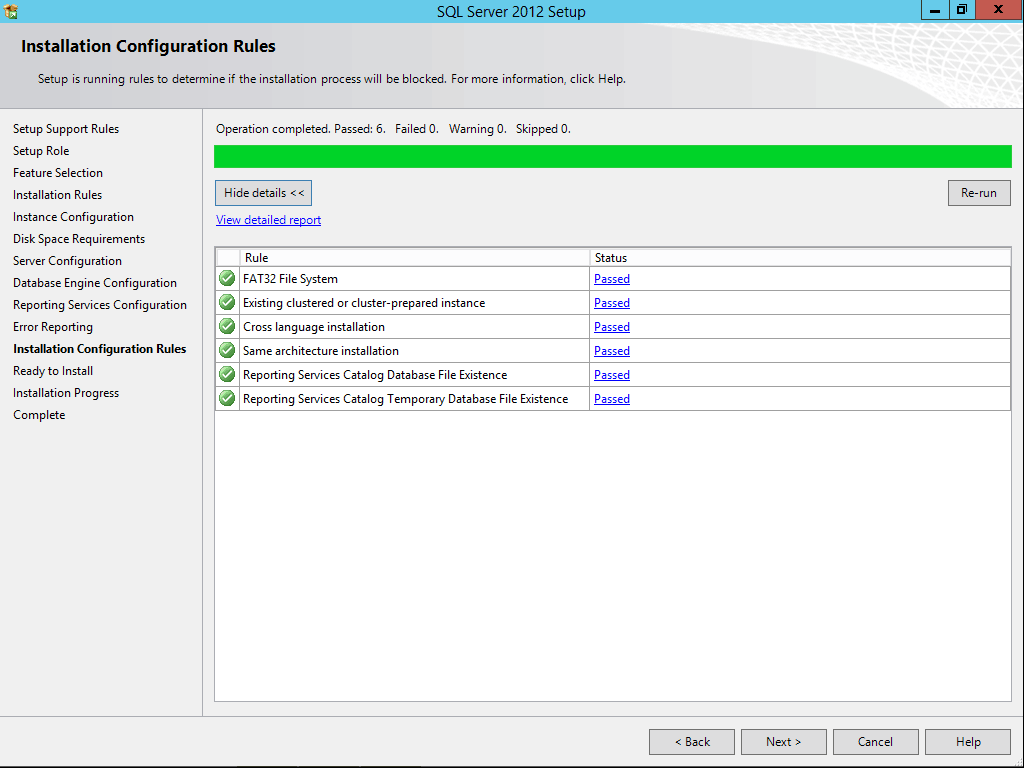
Check that there are no errors in the installation rules check step and click on next.
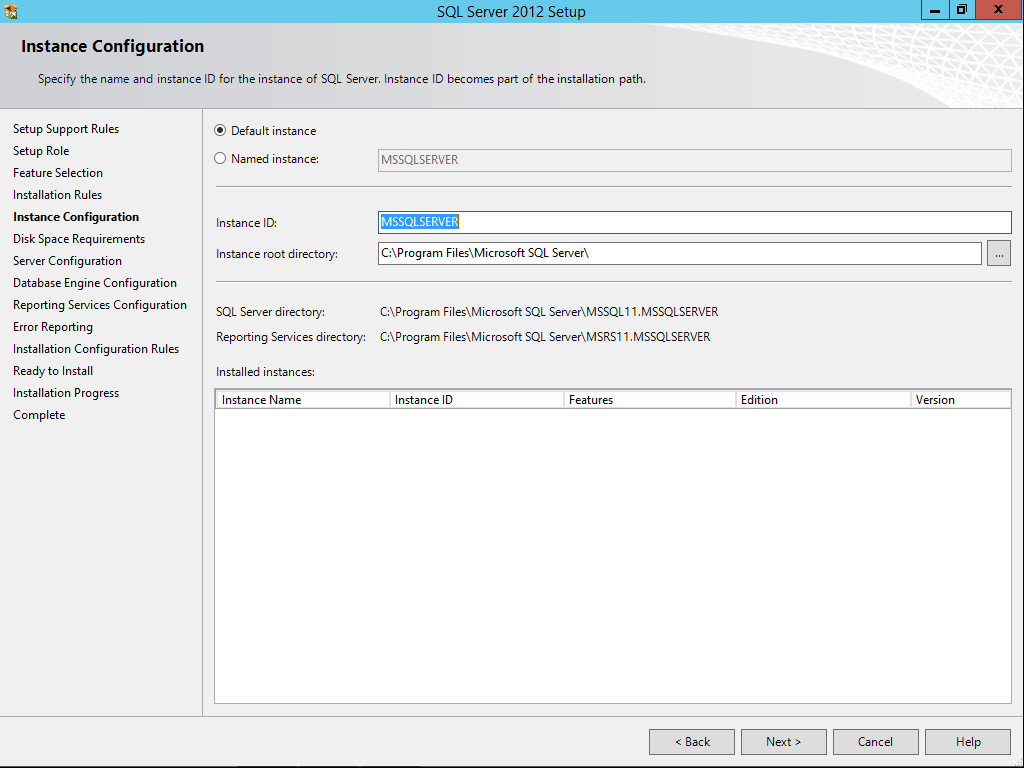
Leave the default instance name ID for the server and click on next.
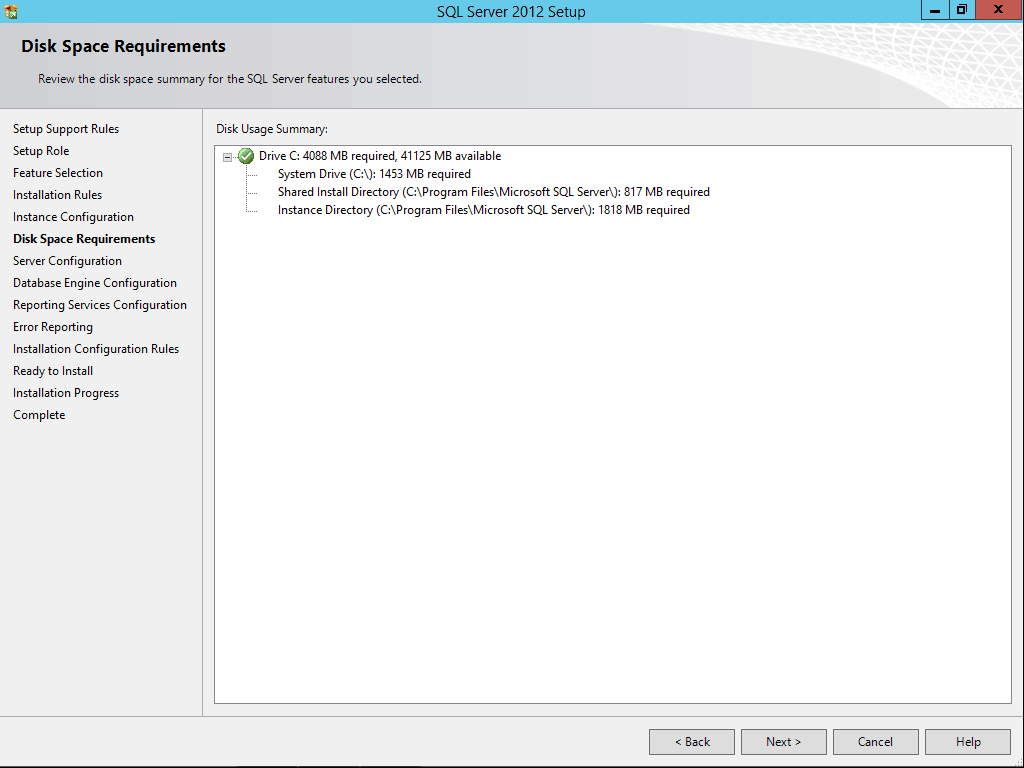
Click on next on the disk usage summary step.
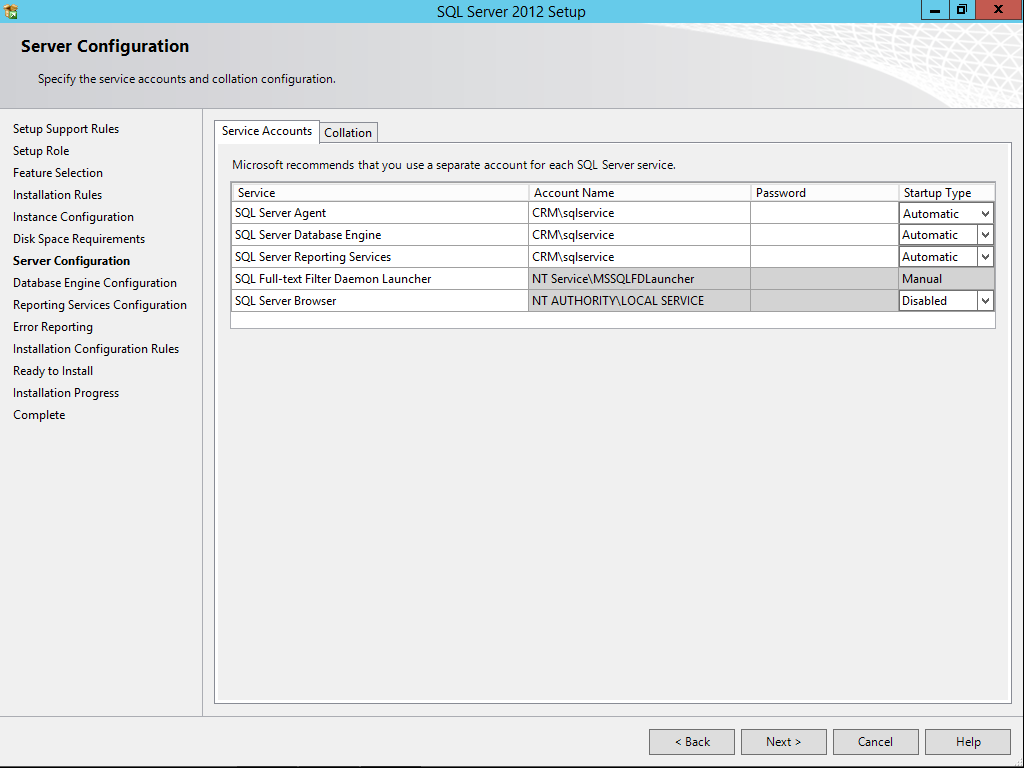
In the Service Accounts step you need to add the user we created earlier “sqlservice” to SQL Server Agent, SQL Server Database Engine and SQL Server Reporting Services. Set all three accounts to startup type automatic and leave the rest. Remember to add the password for the sqlservice account, for all three. Then click on next.
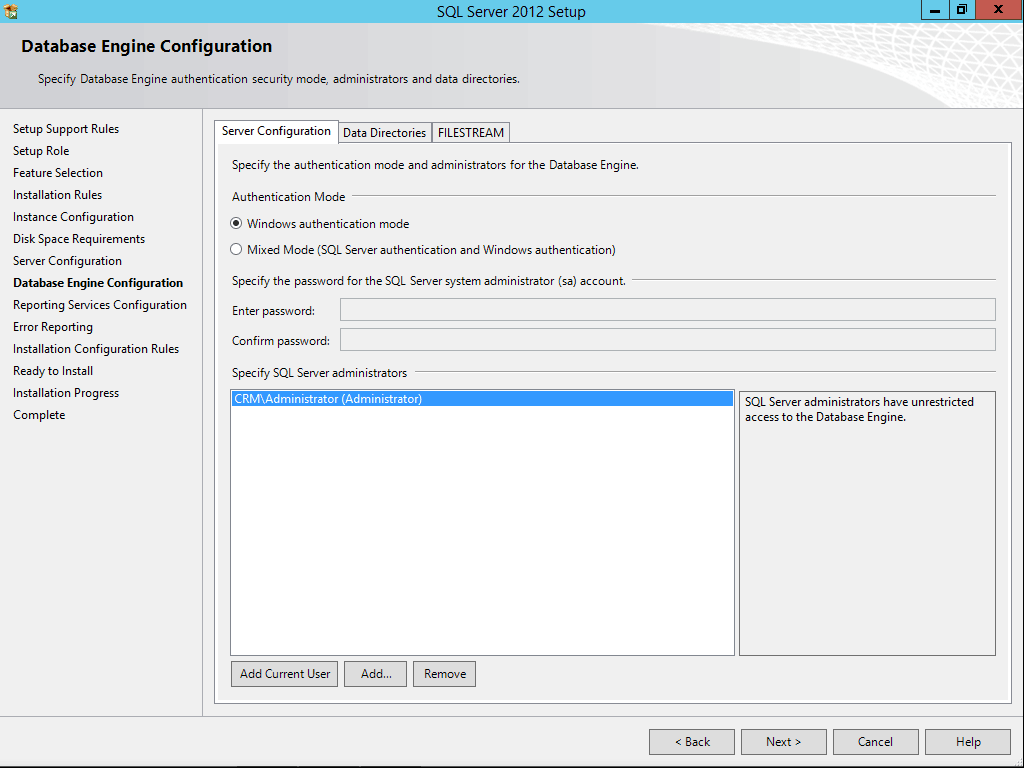
Click on Add Current User to add the user you are logged in with to the SQL Server Administration. We assume that you are logged in with the administrator account on the server.
If you want to add a mixed-mode user you can enter a password. If not just select Windows authentication mode and click on next.
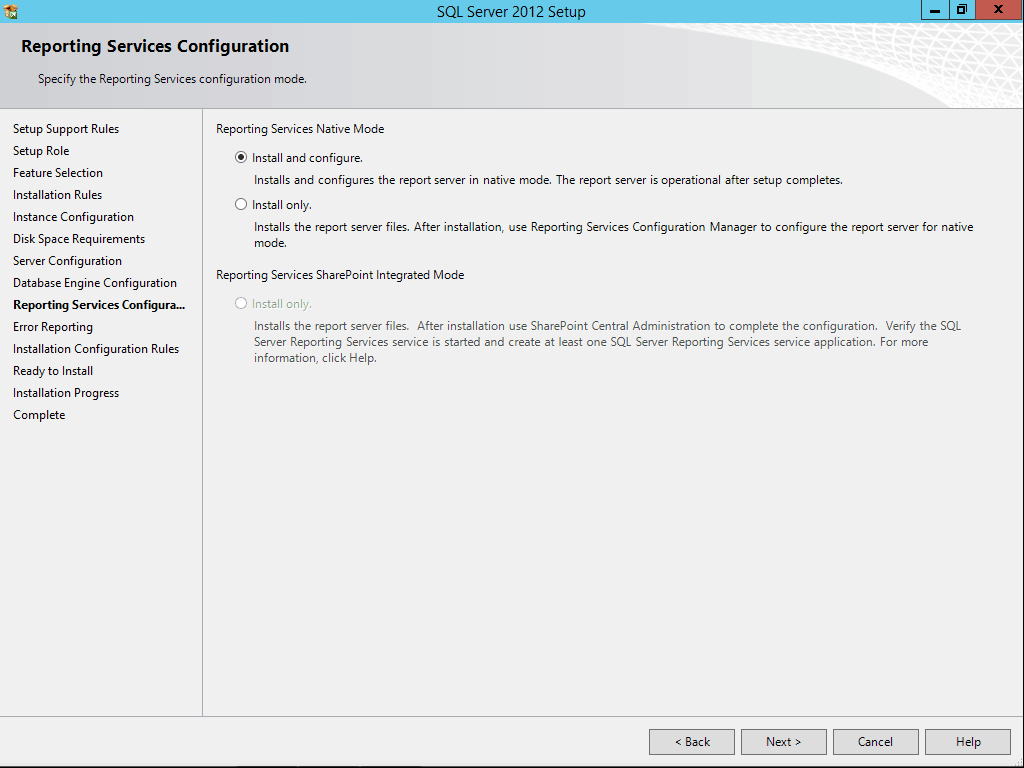
Choose Install and configure and click on next.
Click on next again and
Click on next if there are no errors. If there are any errors you should fix them for the SQL server to work.
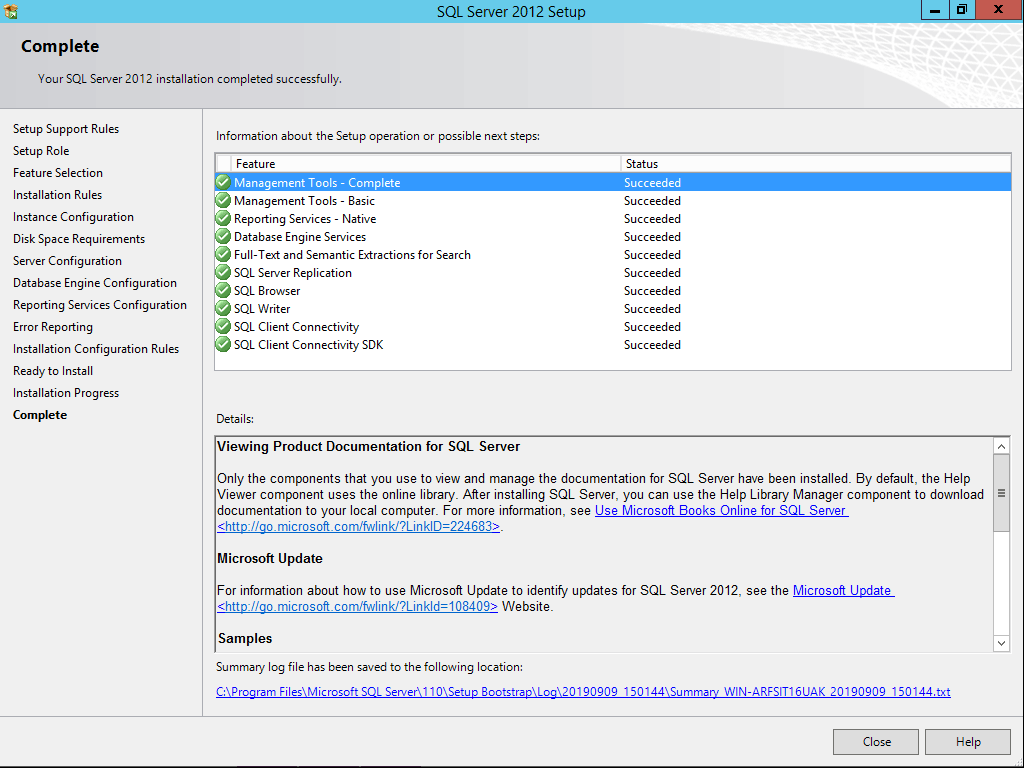
Click on install for the installation to begin. It will take a while even on a fast computer. My installation took about 10 minutes, so stay patient!
Click on close once the installation is finished.
Configure reporting services
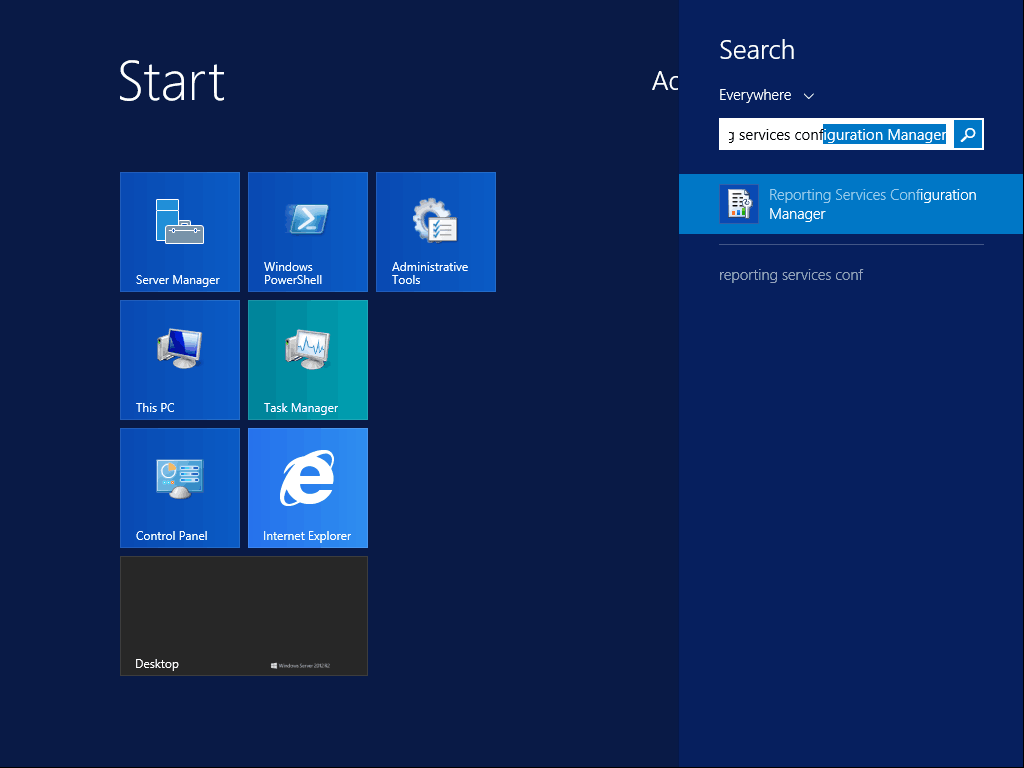
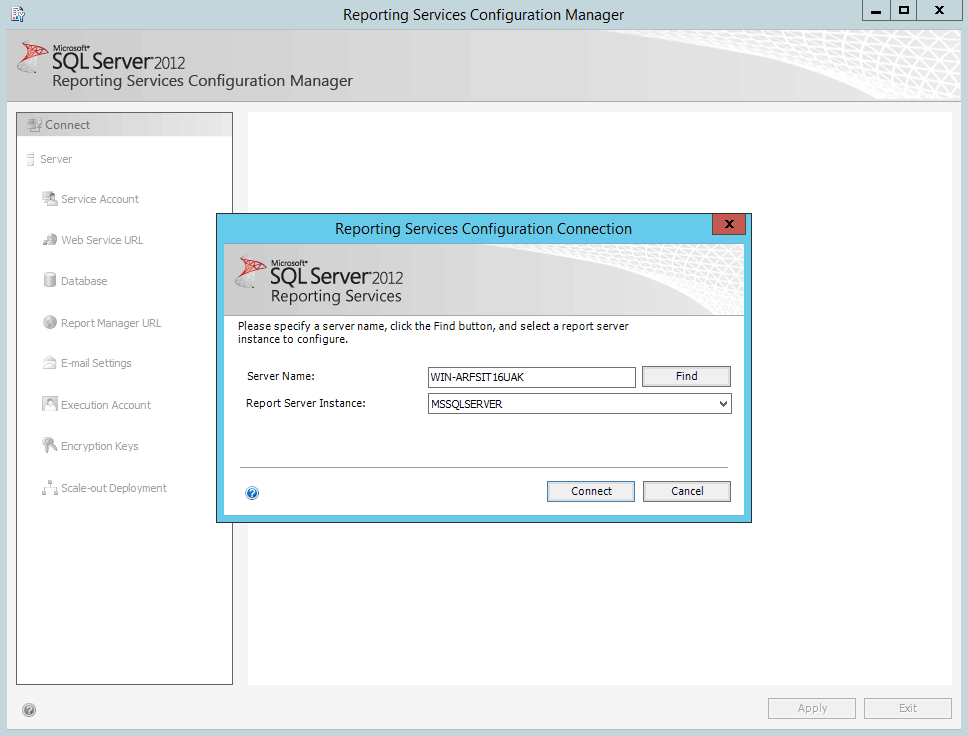
Search for Reporting Services Configuration Connection and run it.
Click on connect.
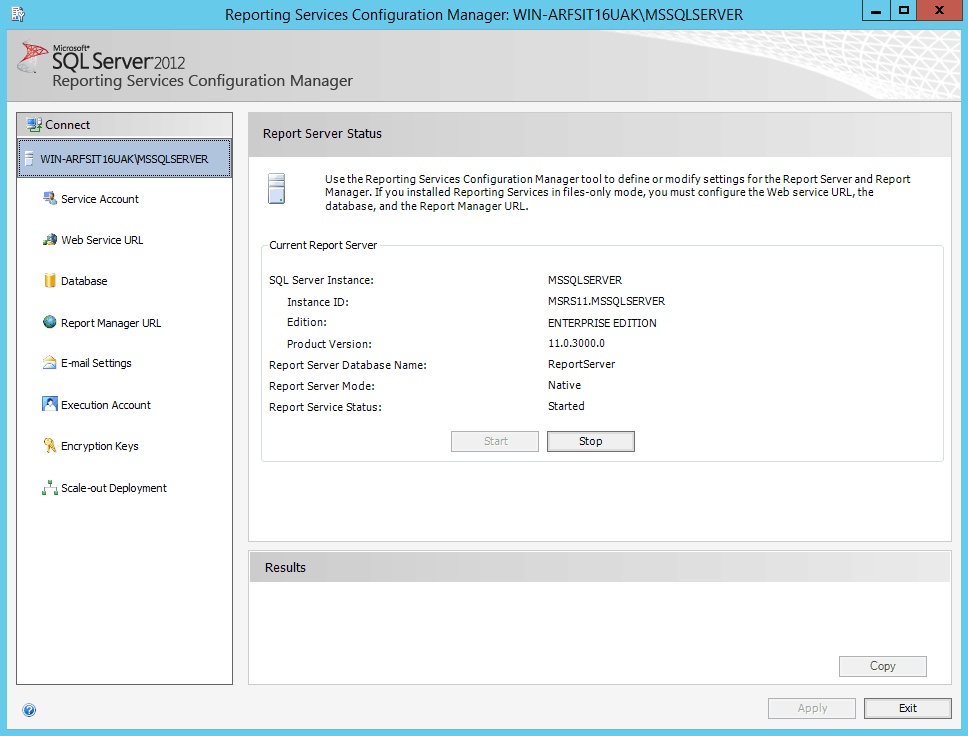
Close the windows when the server is connected.
Install Microsoft Dynamics CRM 2013
Download Microsoft Dynamics CRM Server 2013 and copy it over to your VM or server. The file should be called “CRM2013-Server-ENU-amd64.exe”.
Install the application under C:\CRM2013\.
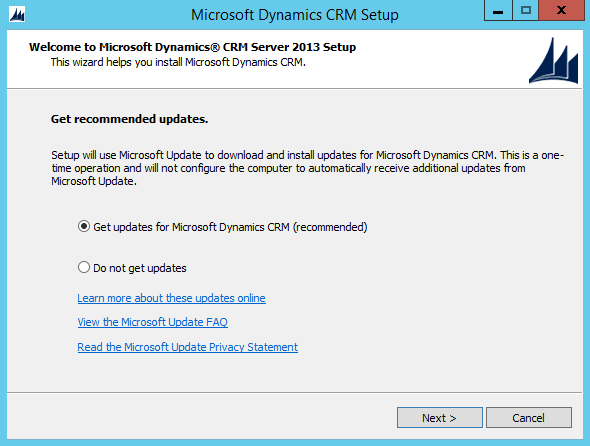
Search for updates. Install the updates (if there are any) or continue.
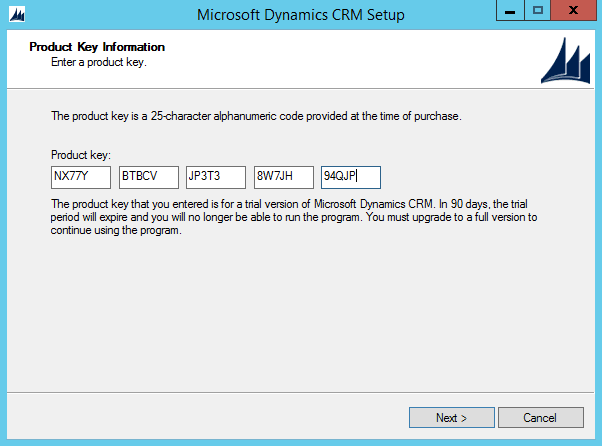
Enter a license key. The license key I have entered here is for a 90 days trial period so don’t get all excited now 😋.
Click on next and accept the license agreement, if you accept it.
Before you proceed make sure you have an internet connection. The setup will download some files…
Click on next when the installation is complete.
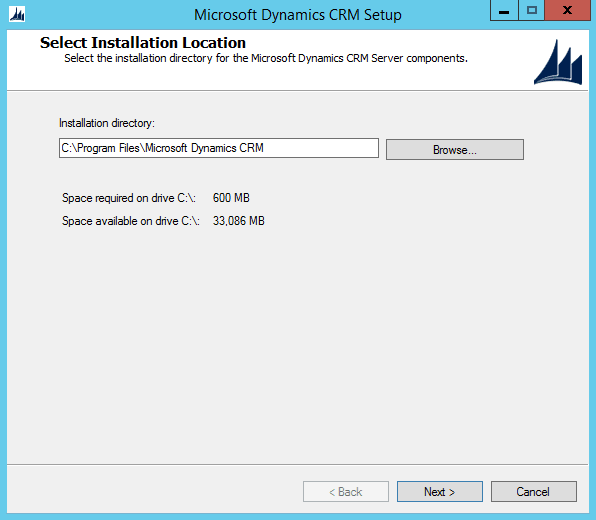
Previously we set the location for the installation files. Now we set the location for the software itself.
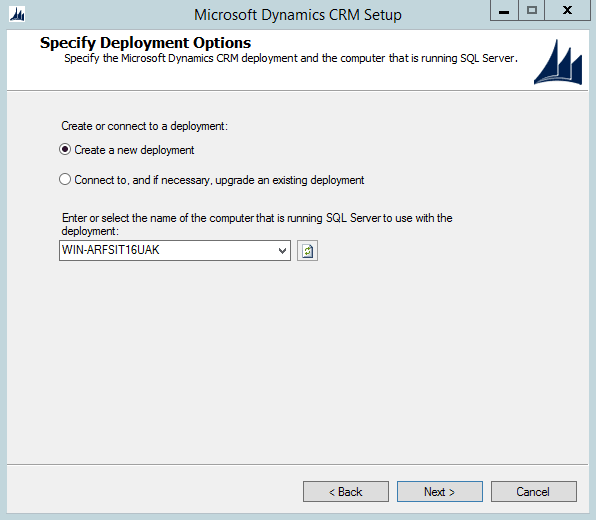
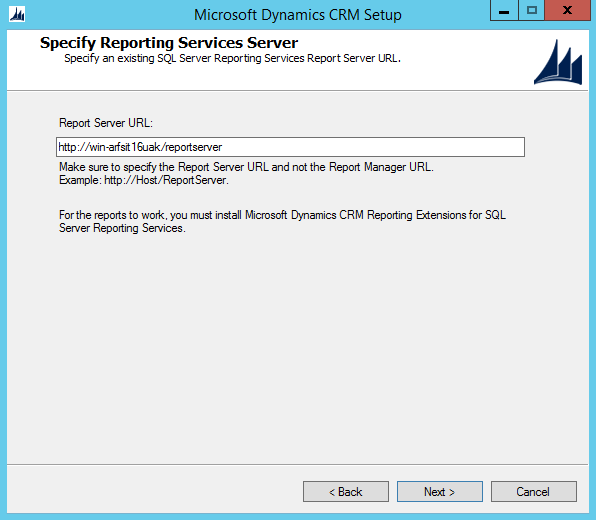
Enter the name of the computer with the SQL server. If you are unsure you can find this in the previous step where we connected to the server with Reporting Services Configuration Connection. In our case the name was WIN-ARFSIT16UAK. Click on next.
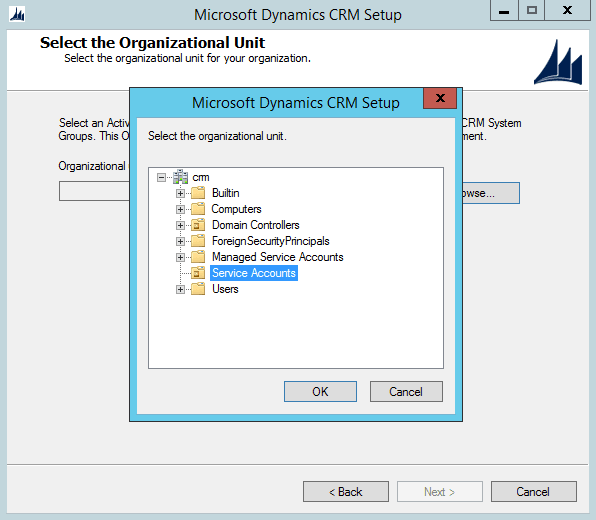
Select an OU in Active Directory where you want to store the groups that Dynamics CRM creates. It does not matter where.
Now we need to halt the installation for a moment and assign some permissions to our accounts before we continue!
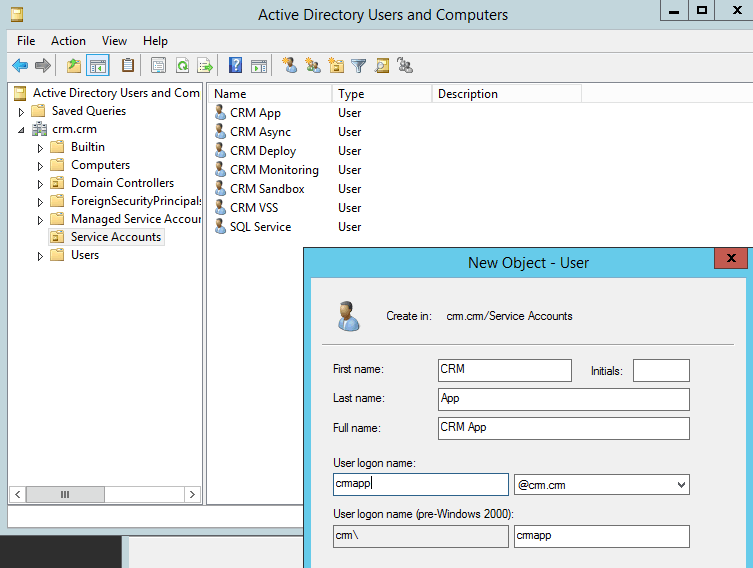
Open Active Directory Users and Computers and add six new accounts with the following user names:
crmapp
crmasync
crmdeploy
crmmonitoring
crmsandbox
crmvss
We need these accounts for the next installation step.
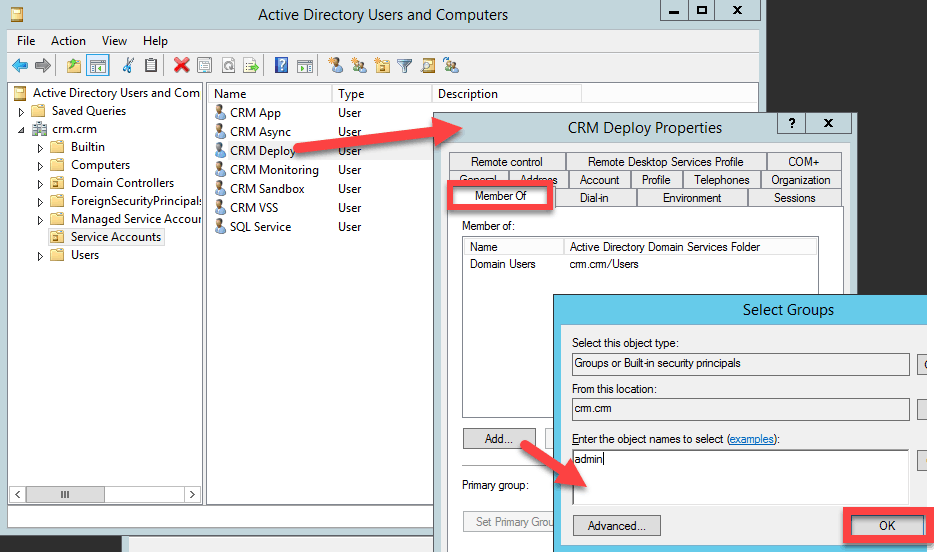
Add the crmdeploy user to the admin group in Active Directory.
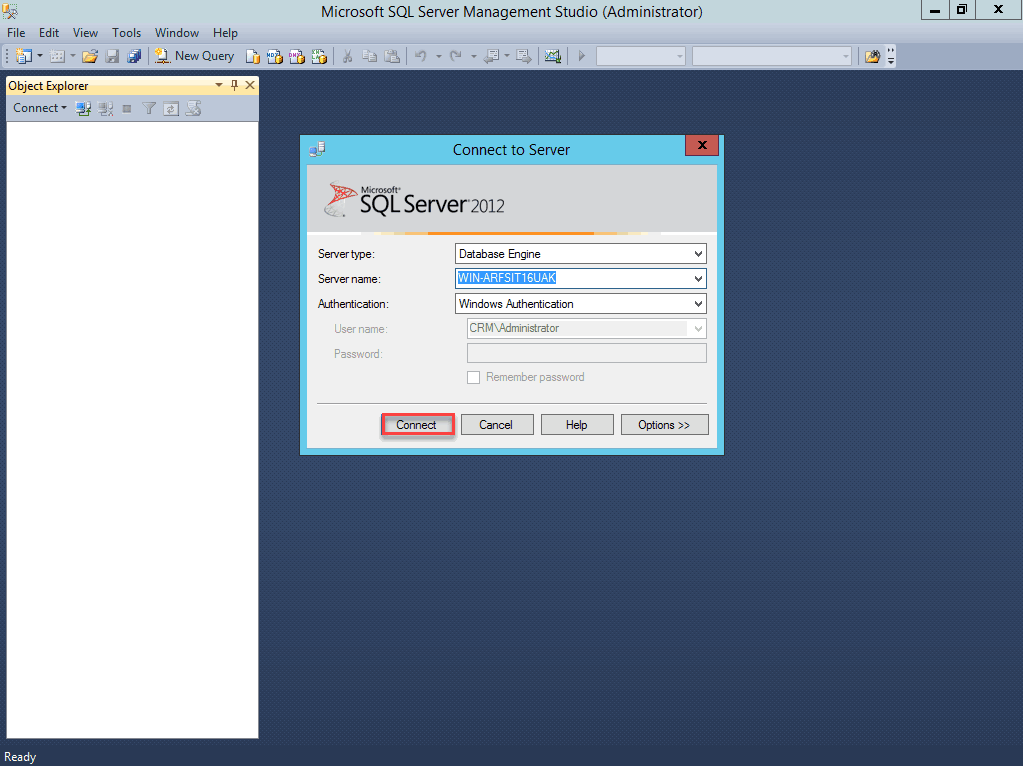
Open SQL Server Management Studio and click on Connect.
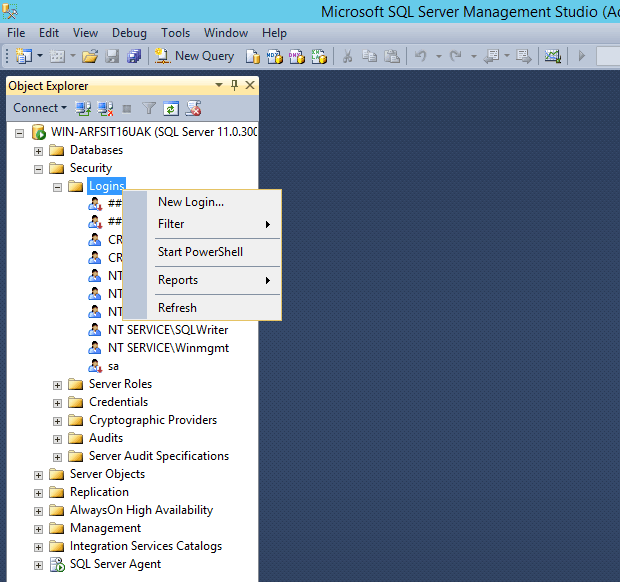
In the Object Explorer under Security right-click on Logins and click on New Login.
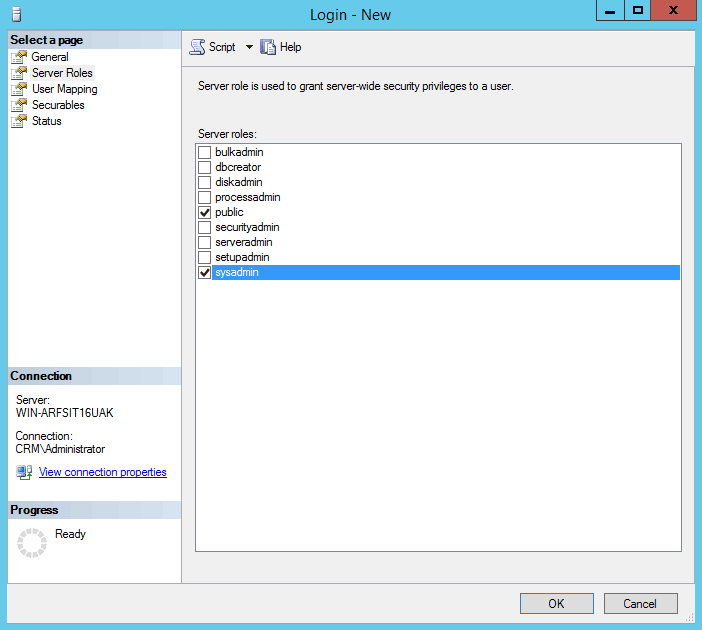
Enter the name of your deployment user. For example crm\crmdeploy account.
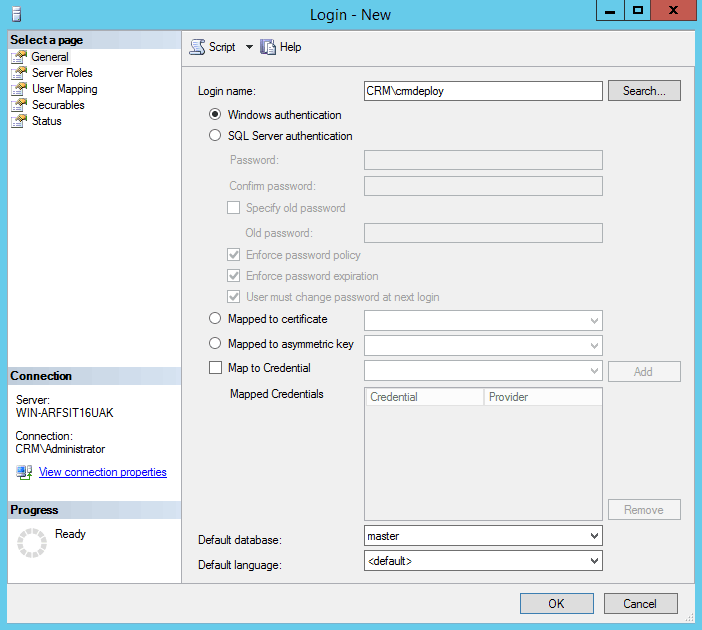
Then under Server Roles give the user the sysadmin role and click on OK.
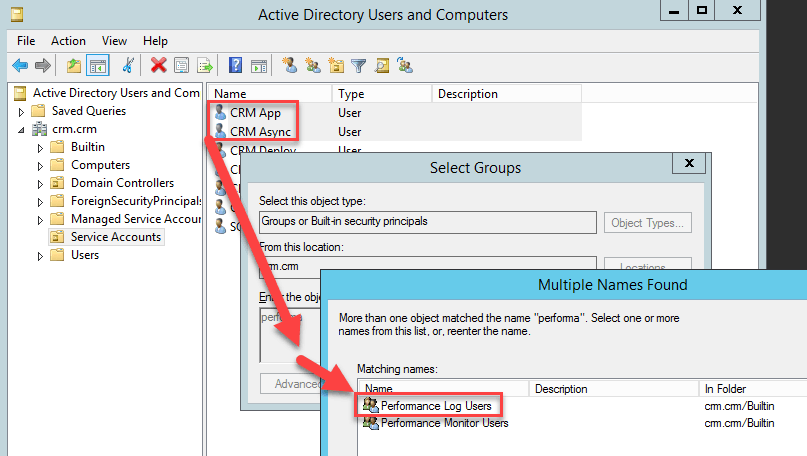
Go back to Active Directory and add crmapp and crmasync to the Performance Log Users group.
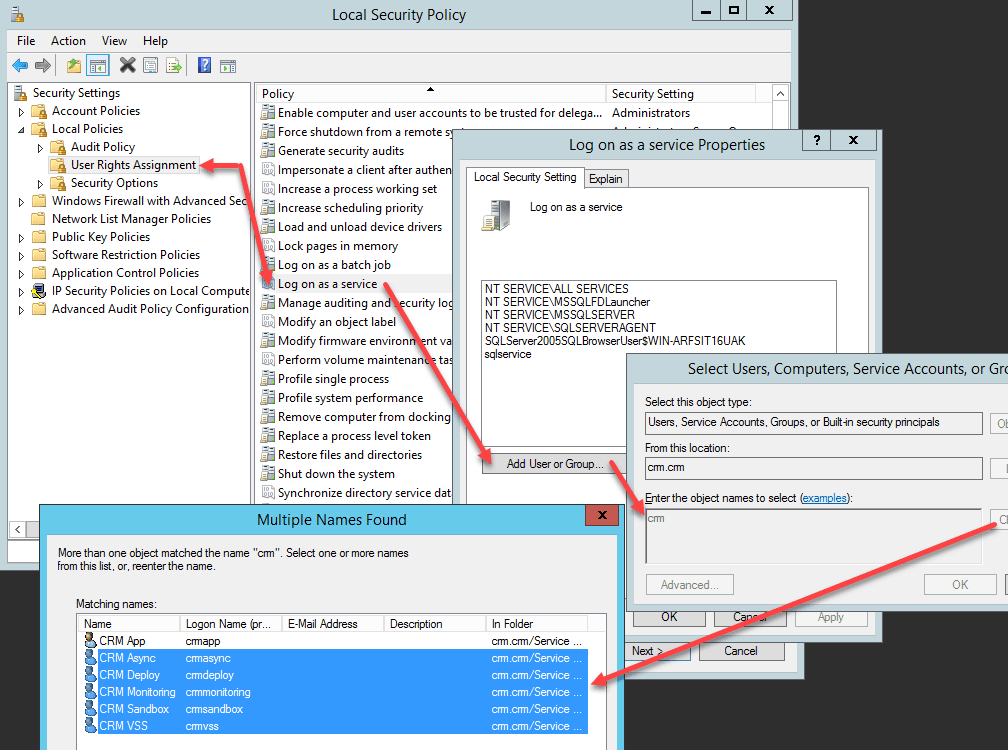
Open Local Security Policy from Start and go to Local Policies and User Rights Assignment. Find Logon as a service and add the accounts: crmasync, crmdeploy, crmmonitoring, crmsandbox, crmvss. You do not need to include the crmapp account.
Now we can go back to our Dynamics CRM installation 👍
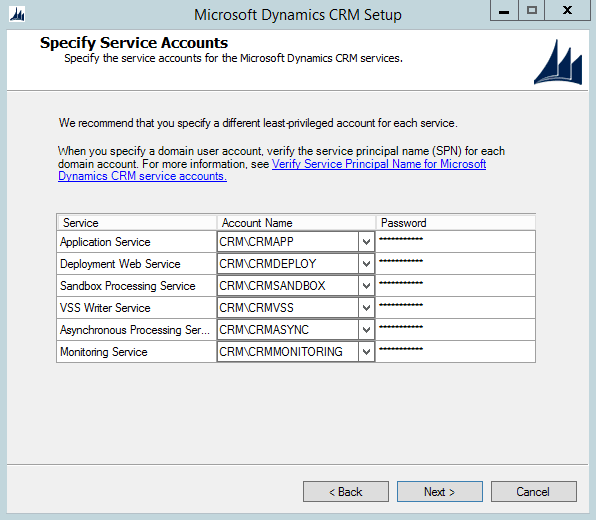
Now add the respective users you created to the appropriate account name field and type the password you picked for each account and click on next.
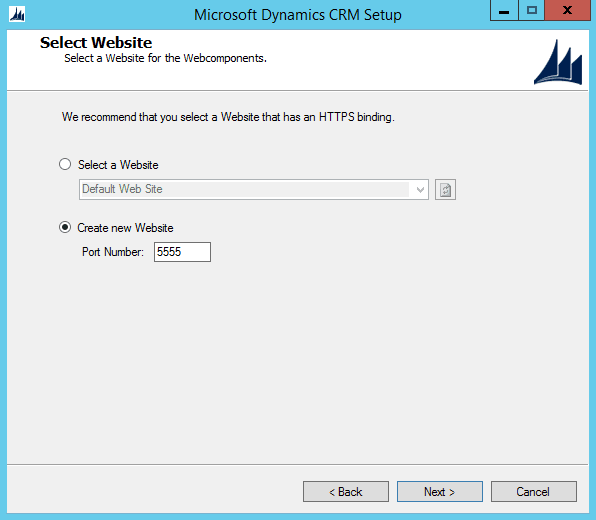
Select Create new Website and leave the port number 5555.
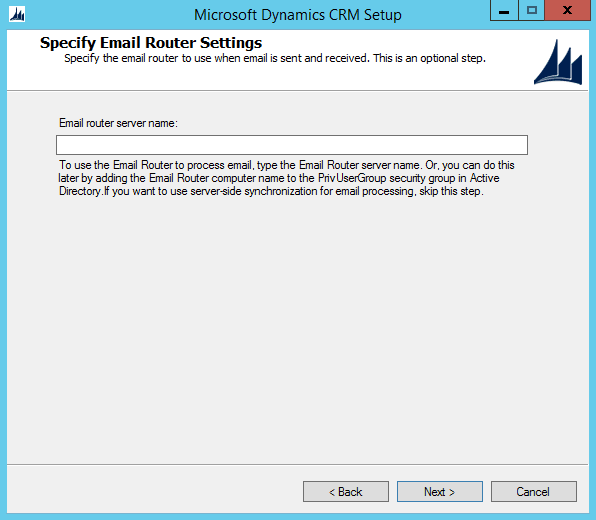
Leave the Email router server name blank.
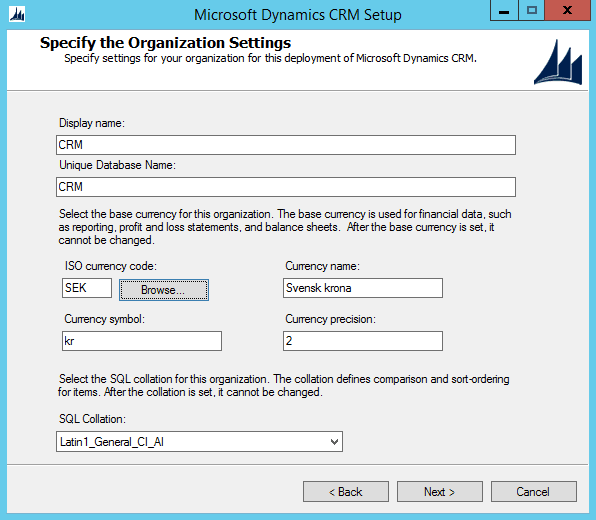
Enter a name for the organization in which you want to set up the server for and set the currency settings to their appropriate values.
Click on next.
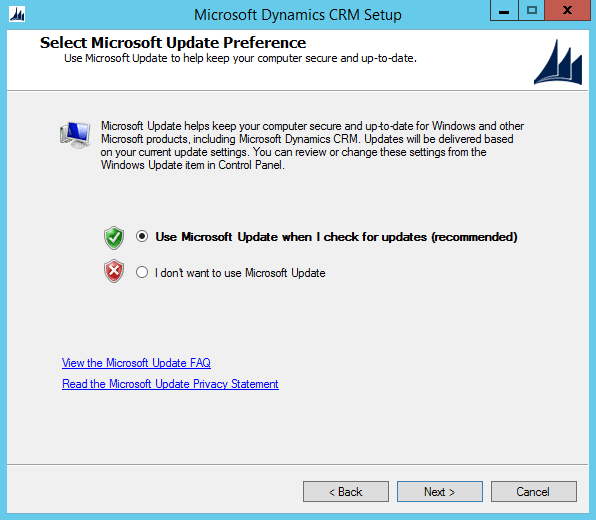
Skip the customer experience page and choose Use Microsoft Update when I check for updated (recommended) and click on next.
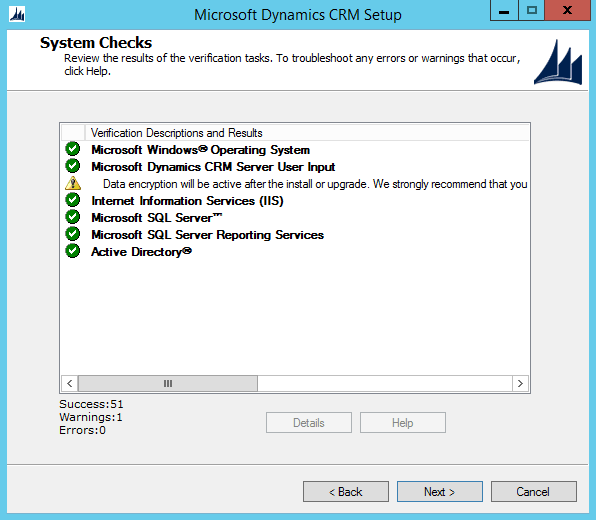
Click on next.
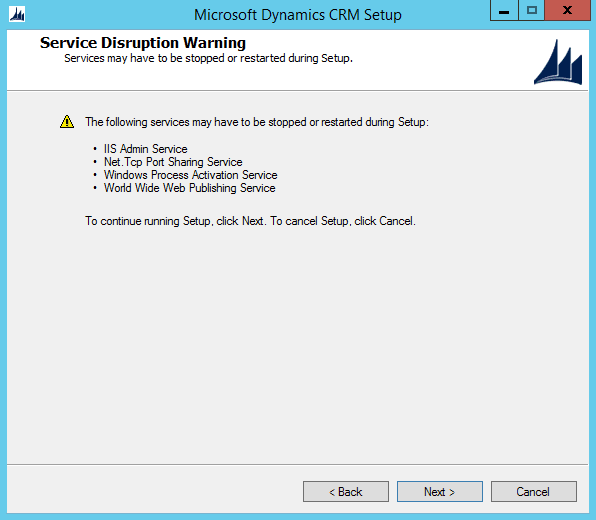
Click on next.
Click on Install to begin the installation.

Click on Finish when the installation is complete. The computer will then restart.
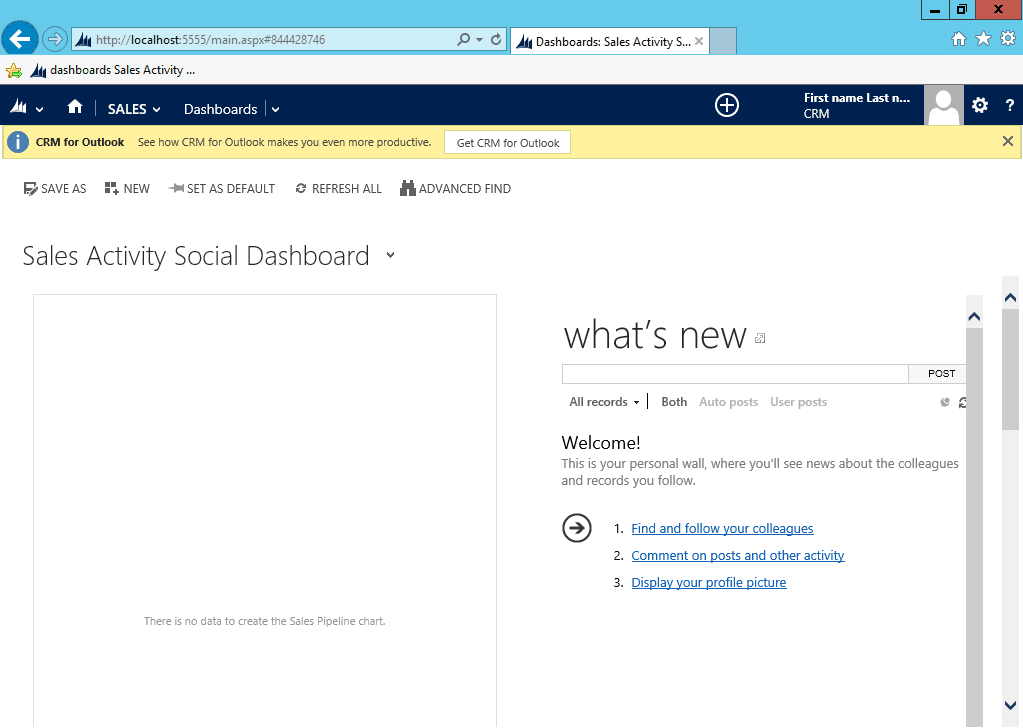
Now you can go to the address http://localhost:5555 and CRM Dynamics will open.
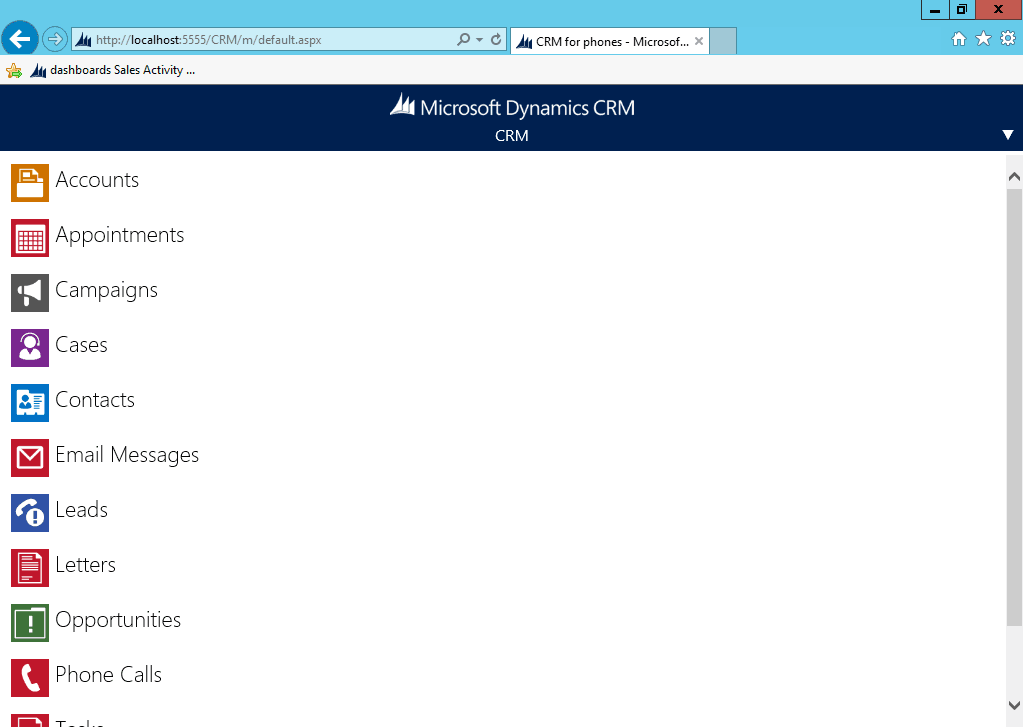
For some strange reason, it opens the webpage as a mobile version, perhaps because of low screen resolution, but this can be fixed by entering the URL http://localhost:5555/main.aspx. Perhaps a good idea to set the homepage of your server to this address?
You now have a working instance for Microsoft Dynamics CRM 2013 on a Windows Server 2012 R2.
Update
You should probably update your dynamics to the latest version. In this case, it is Service Pack 1. It is super easy to install. It just requires a reboot.
It is also a good practice to update Windows because as of now you should probably have some .NET Framework and security updates available.
Tools
The Dynamics 365 CRM Configuration Migration Tool will assist you in moving entity configuration data without the use of custom code.
Microsoft Dynamics CRM 2013 Software Development Kit (SDK)
I could not find a good source on how to use this for Dynamics 2013, but here is a guide for the later version 365.
Documentation
- Planning Guide for Microsoft Dynamics CRM 2013 and Microsoft Dynamics CRM Online
- Installing Guide for Microsoft Dynamics CRM 2013 and Microsoft Dynamics CRM Online
- Operating Guide for Microsoft Dynamics CRM 2013 (on-premises)
- Administration Guide for Microsoft Dynamics CRM 2013
- Customization Guide for Microsoft Dynamics CRM 2013
- Report Writers Guide for Microsoft Dynamics CRM 2013
- Microsoft Dynamics CRM Implementation Guide for CRM 2013 (on-premises)
Finished
Don’t forget to backup or snapshot the VM!
Sources:
Dynamics CRM 2013 Installation by Neil McDonald
Step by Step: Installing Dynamics CRM 2013 on Windows Server 2012 by Niran Belliappa
Resources: